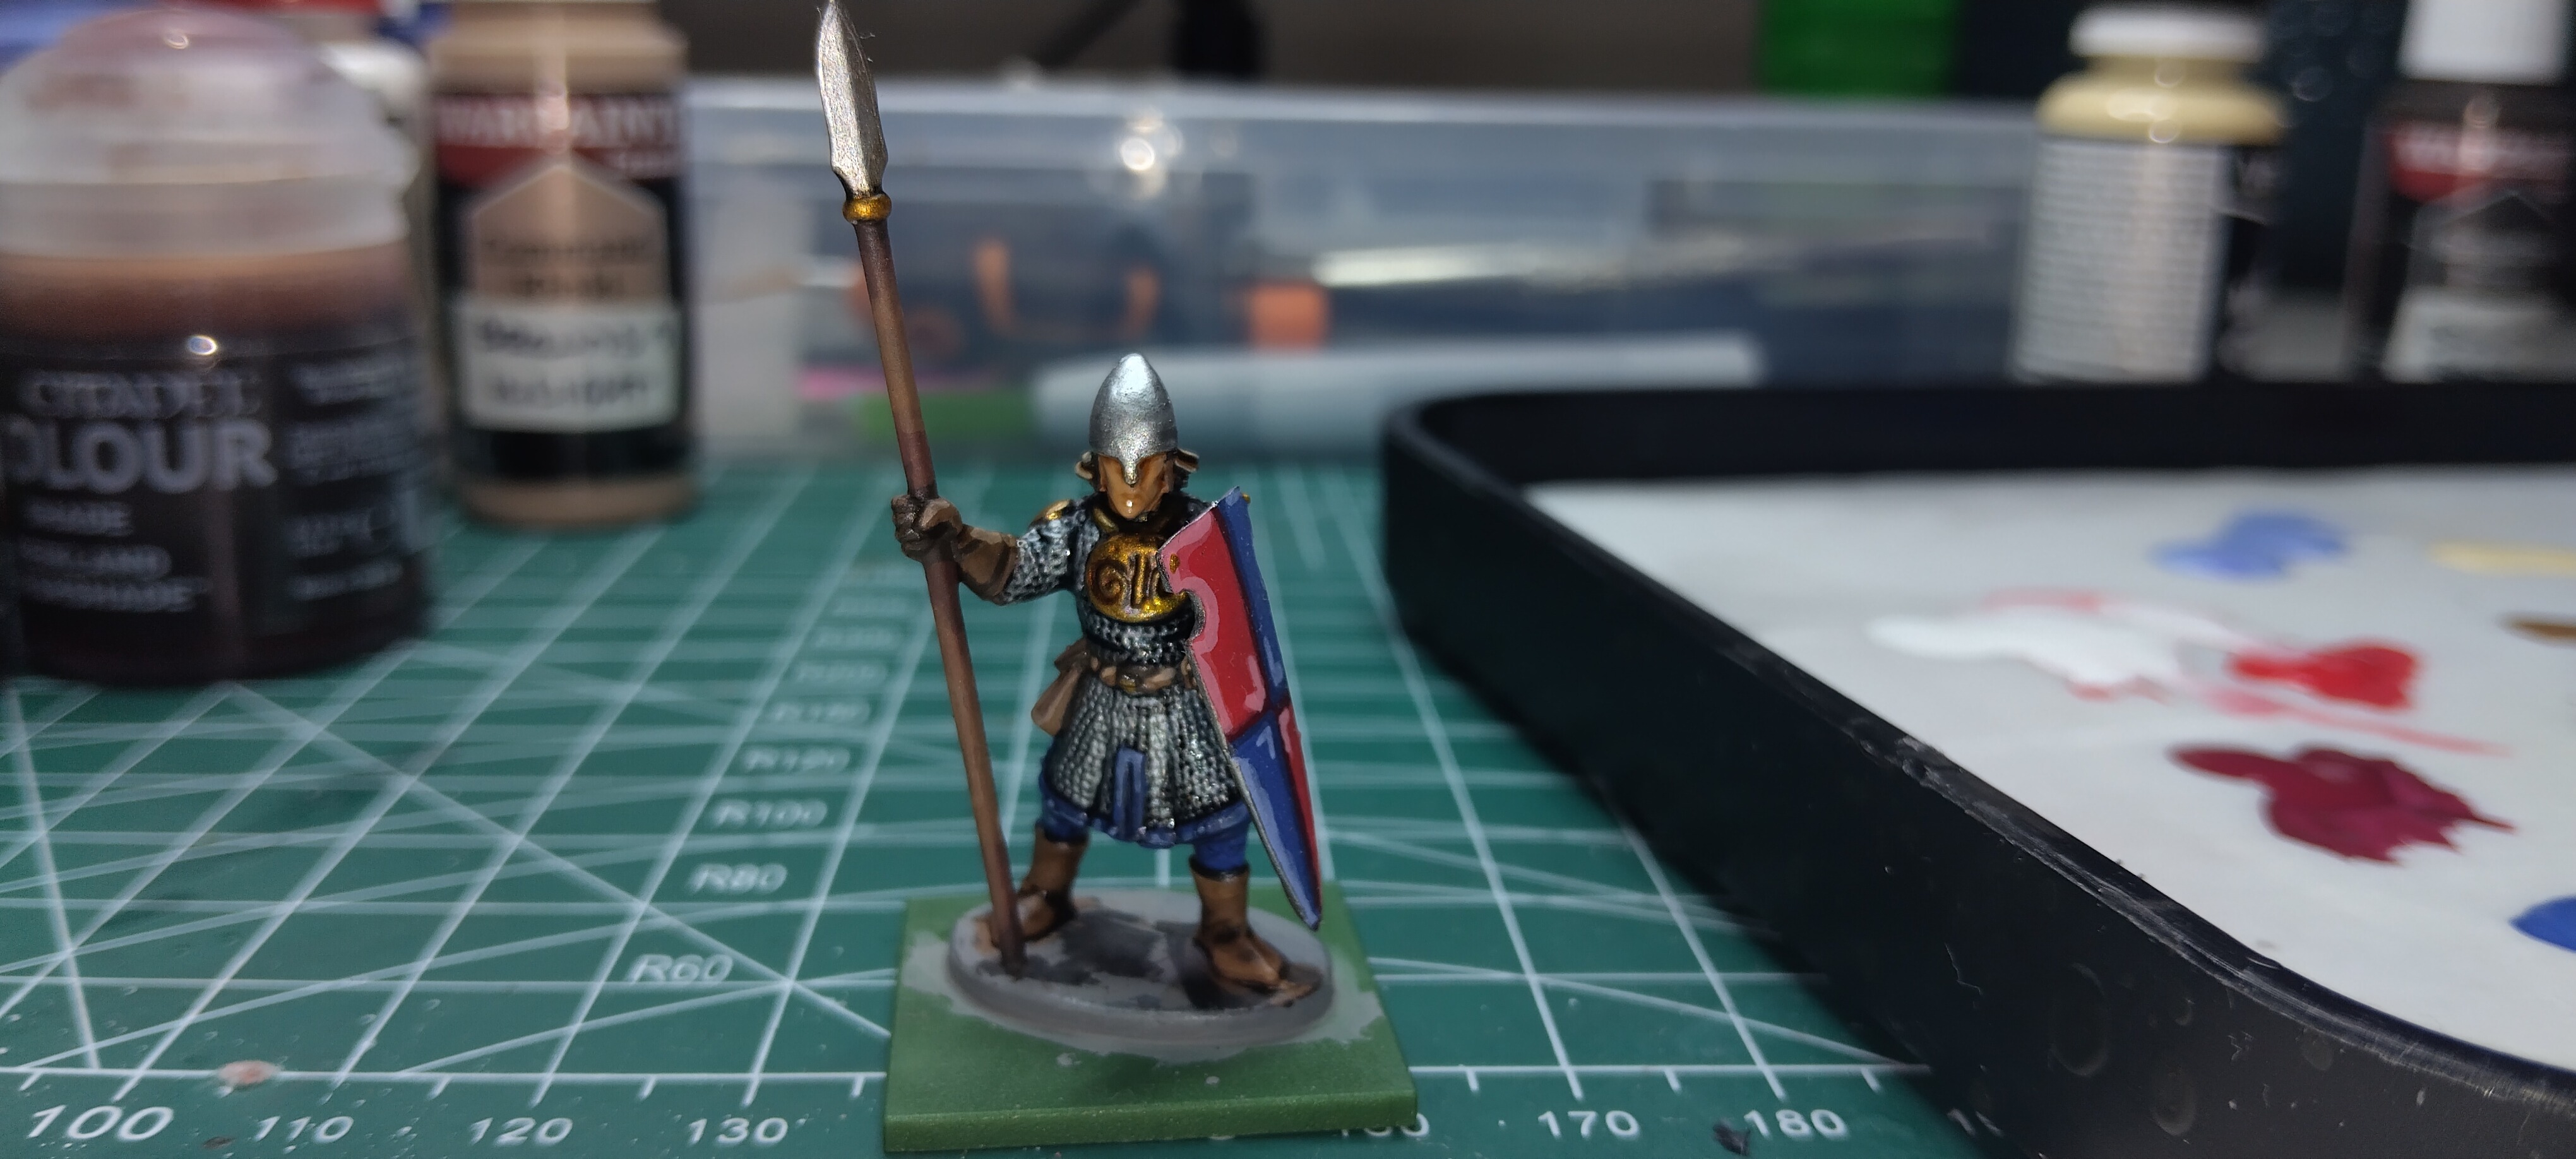
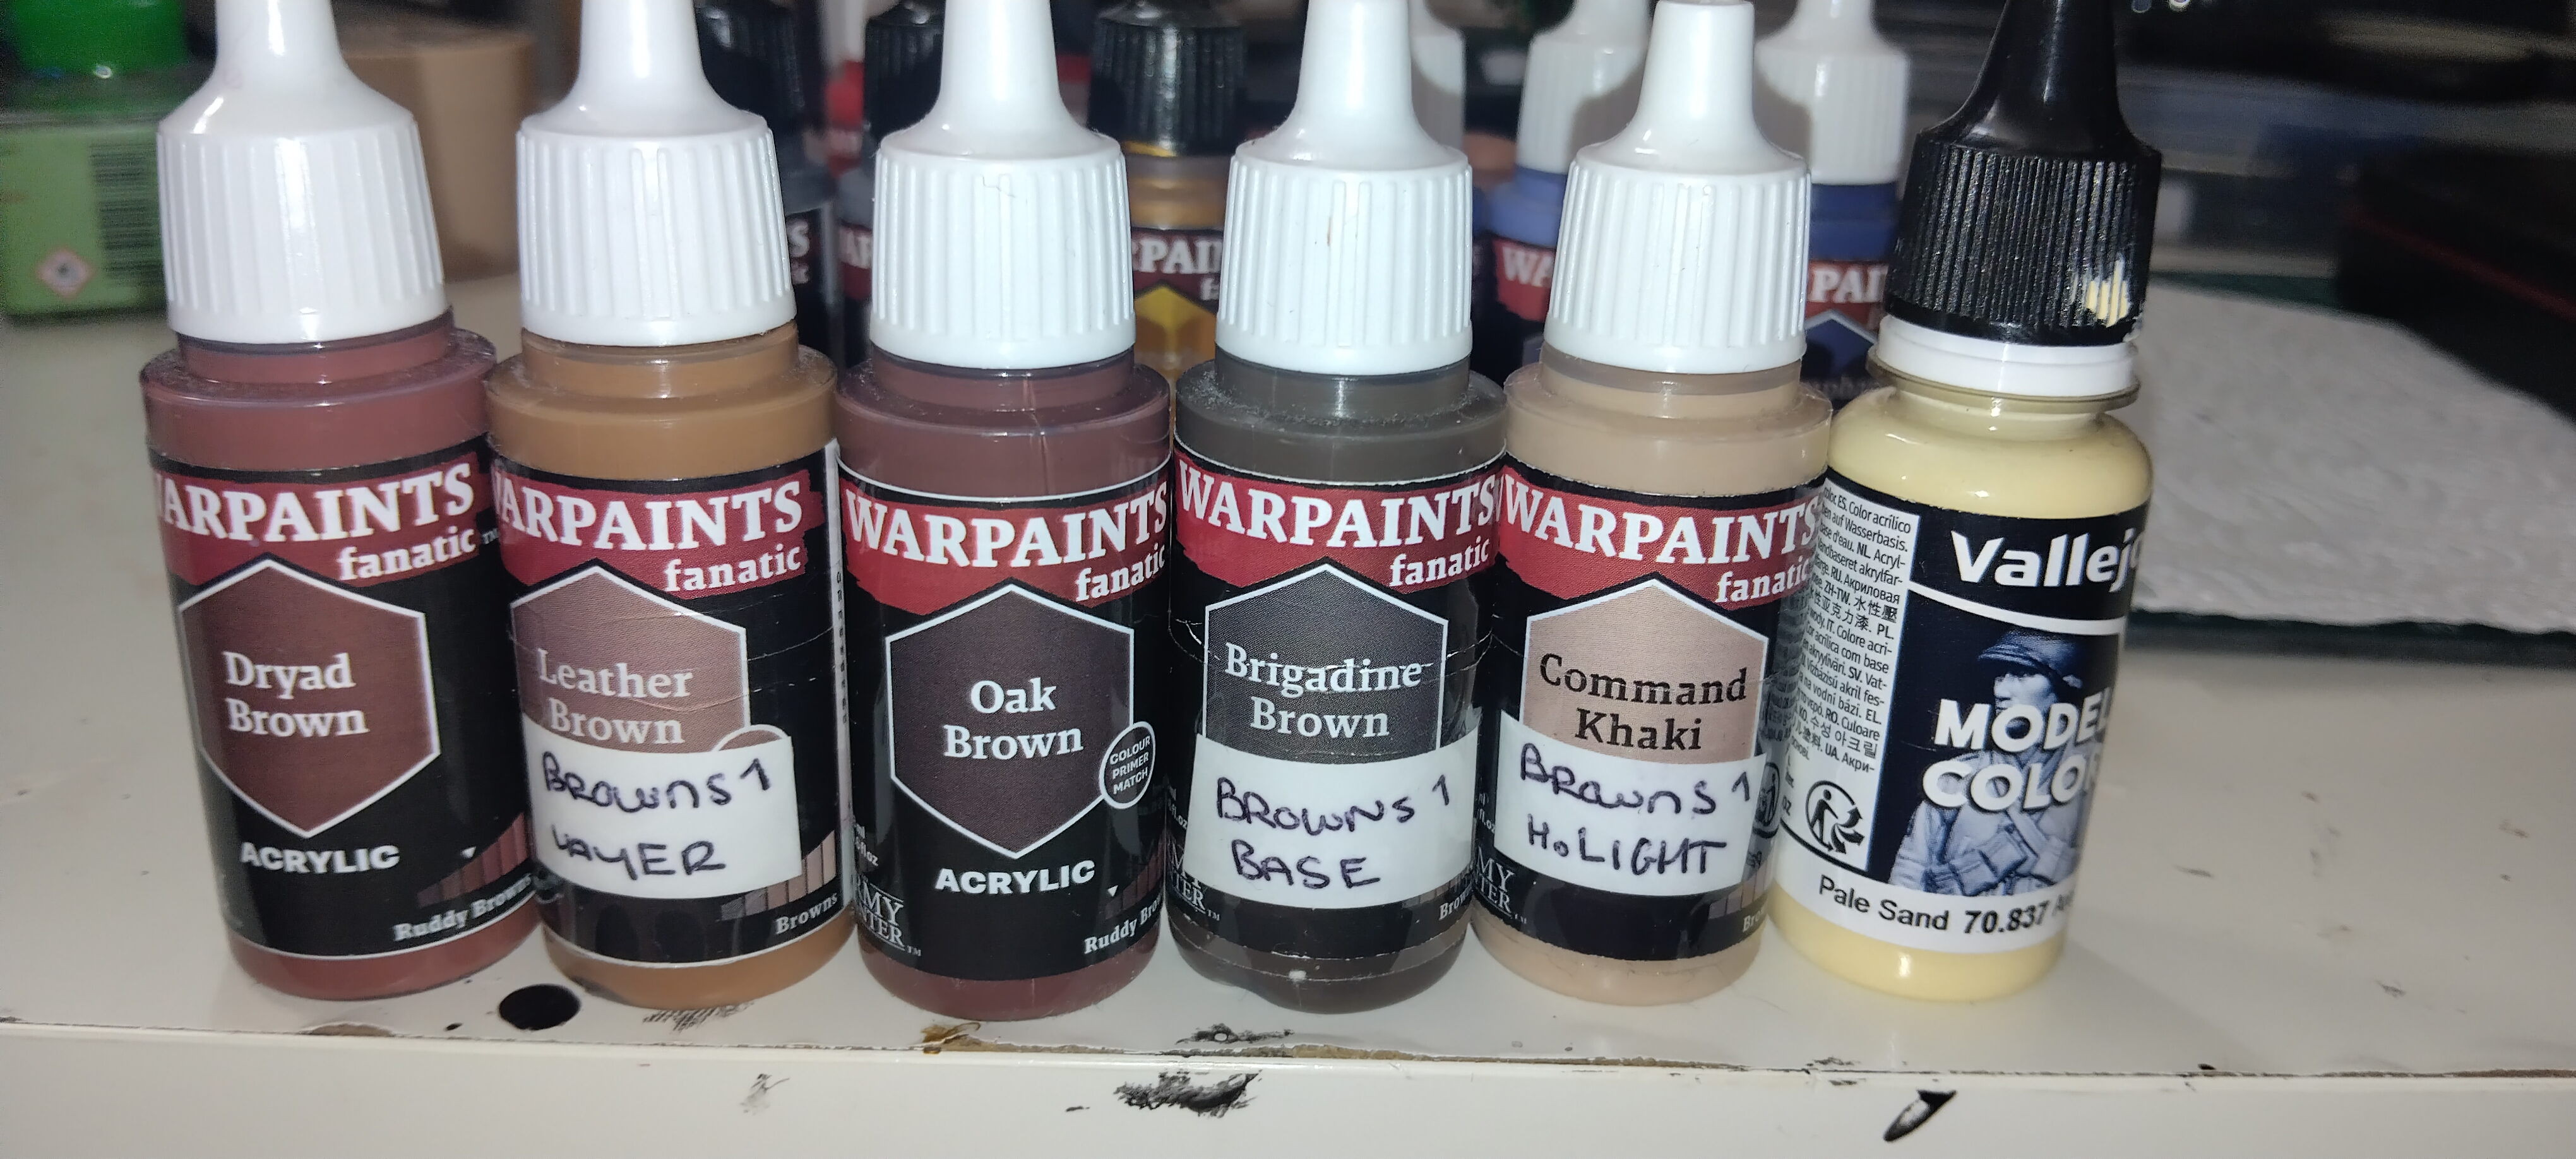
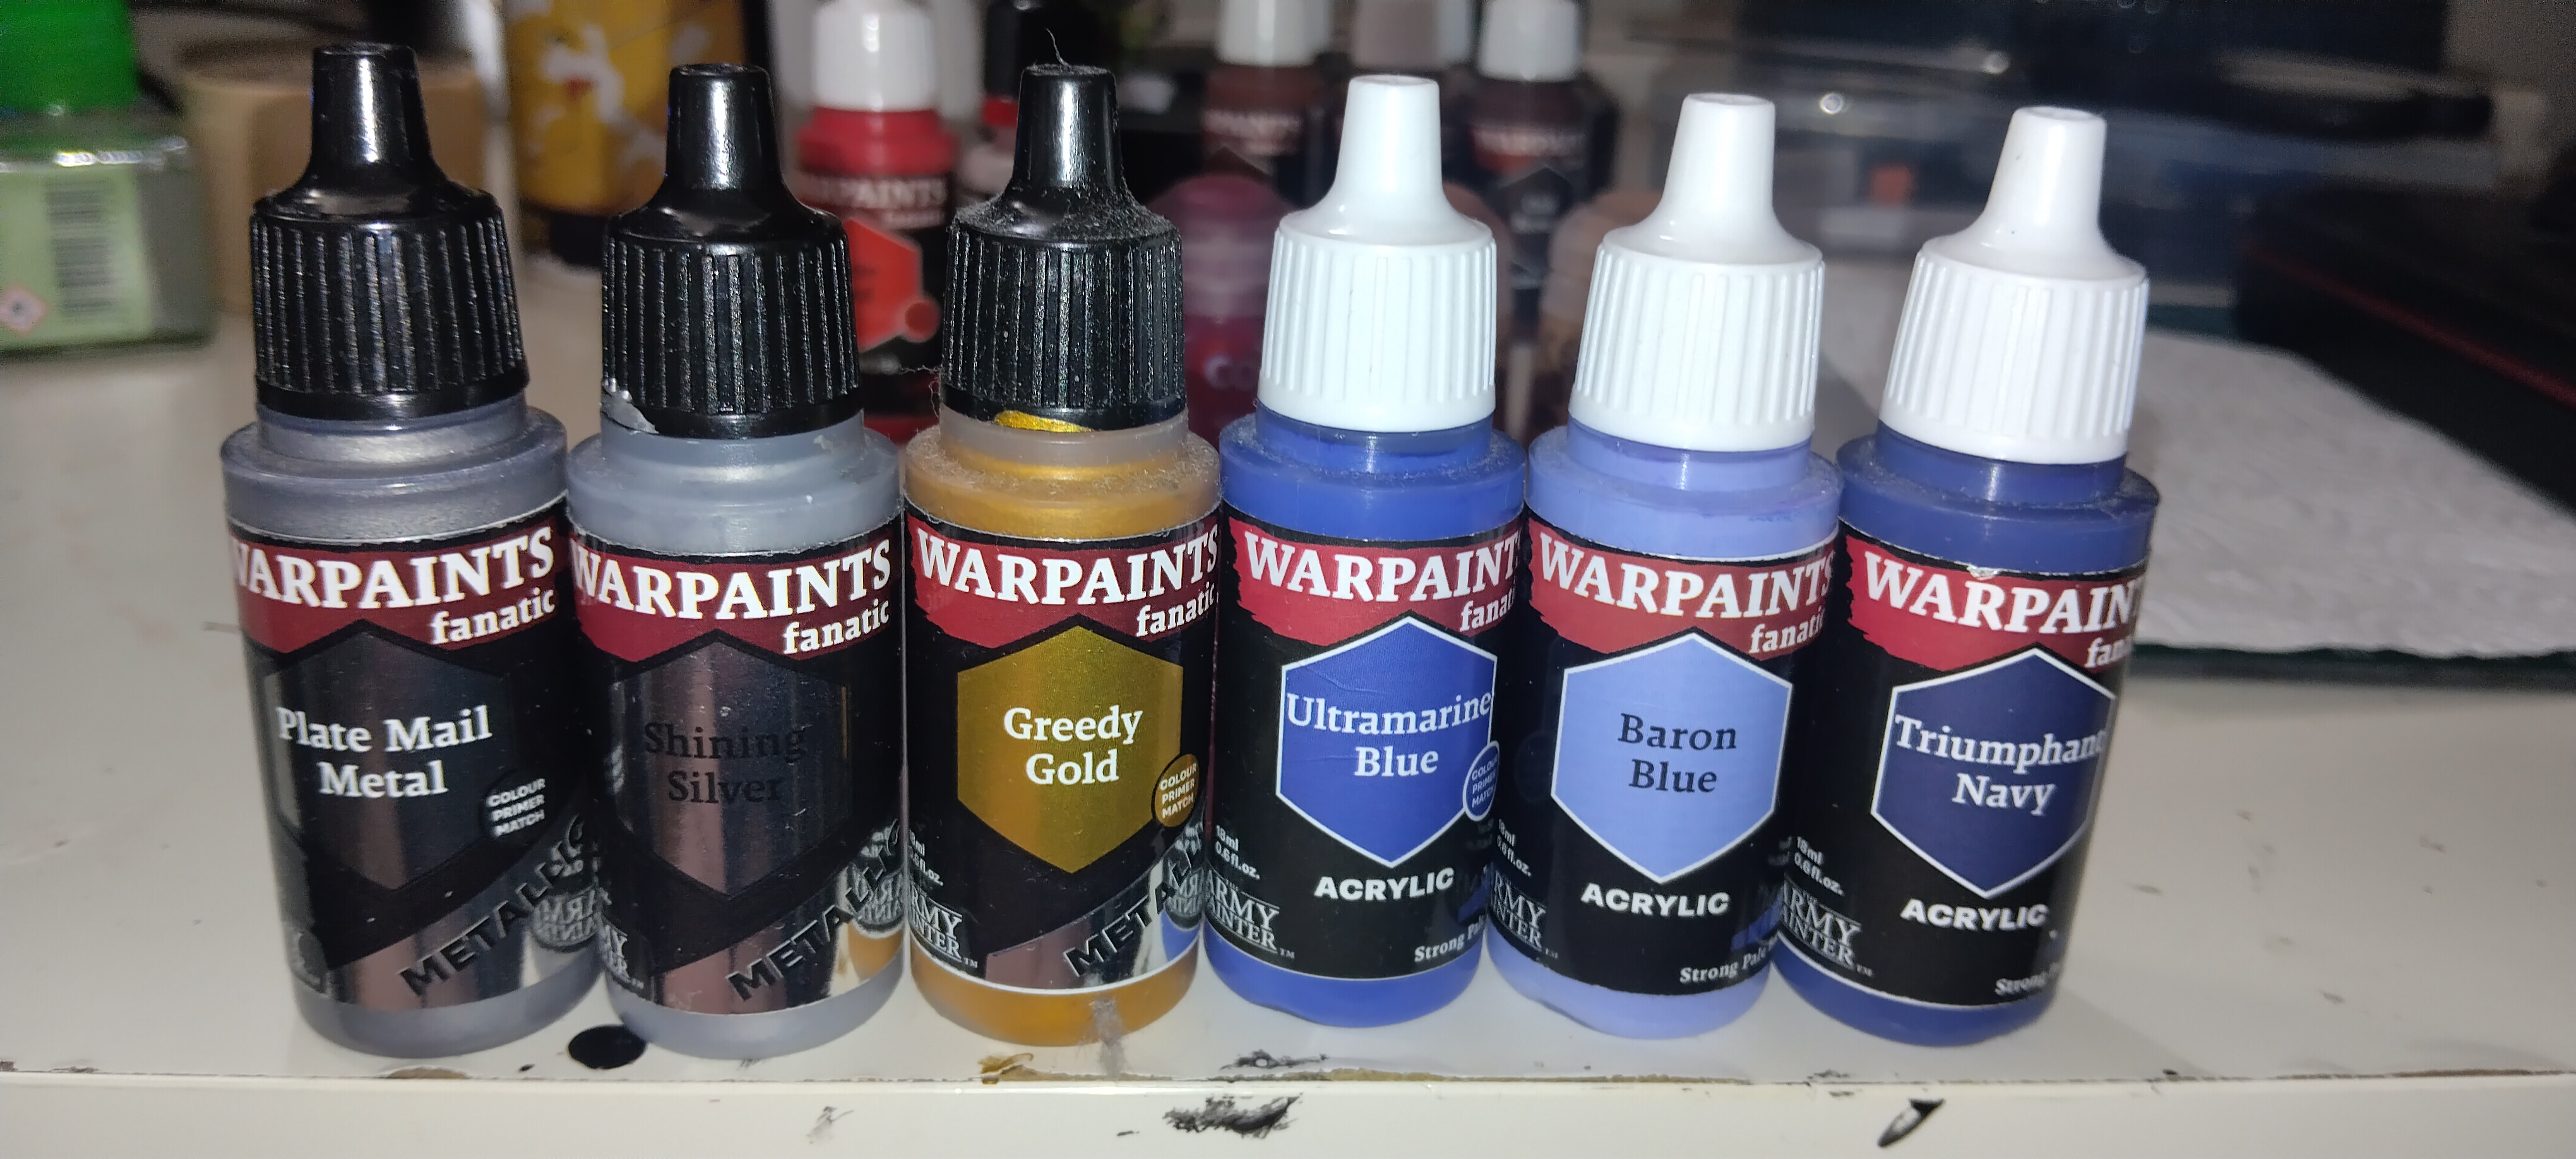
Here is a tutorial on how to paint this Oathmark Elf Infantry to a tabletop standard. Below are the paints i used for this scheme.
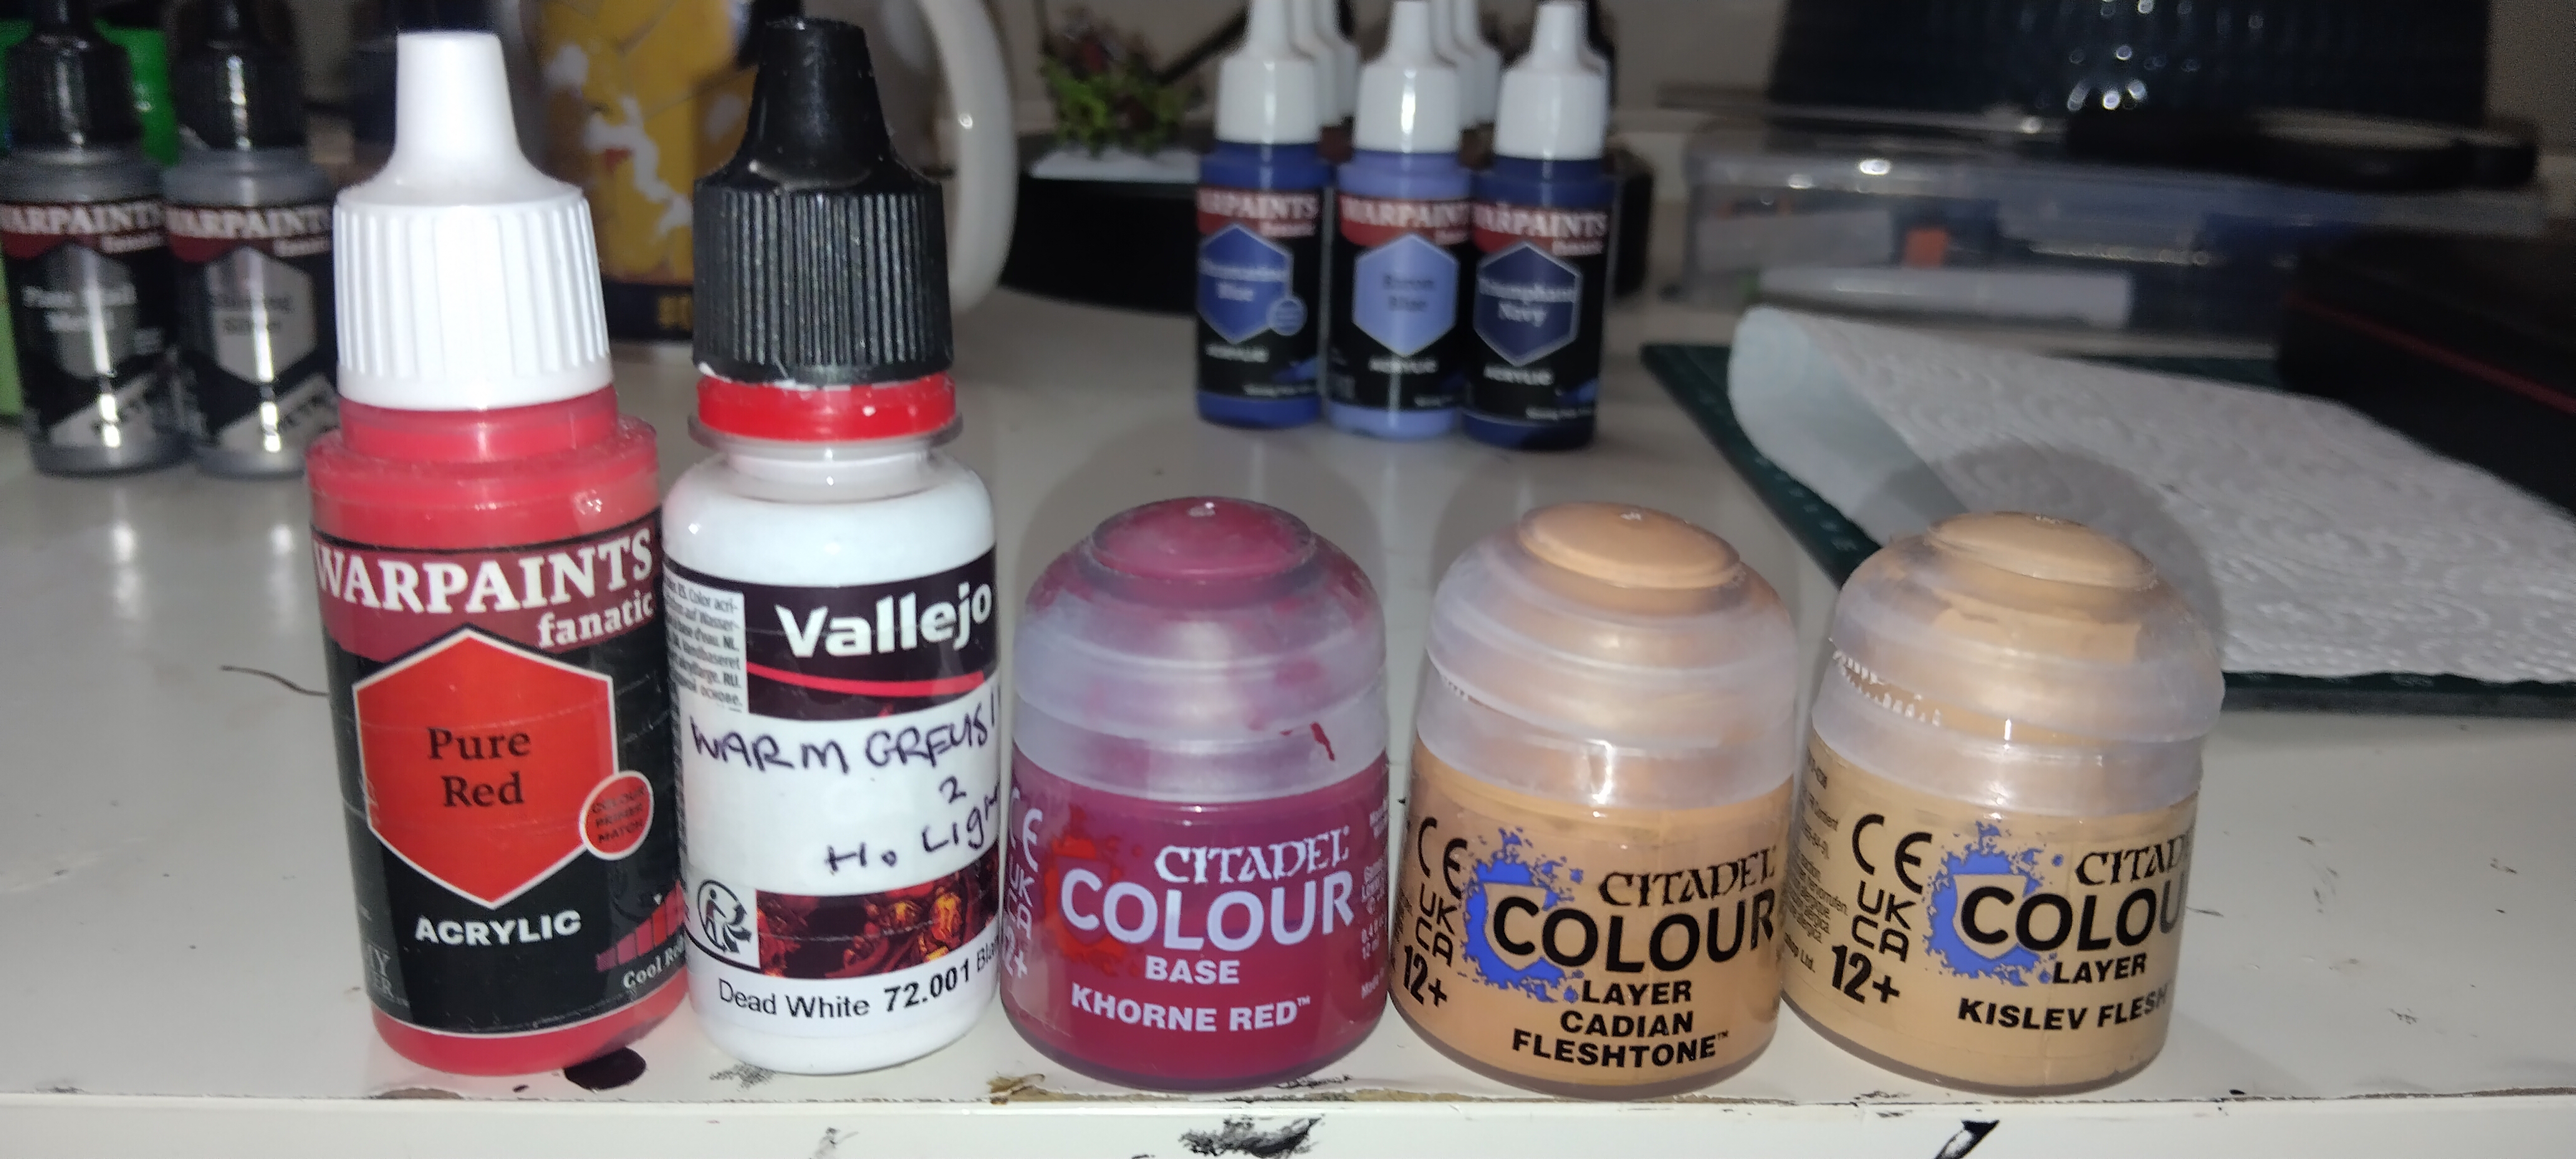
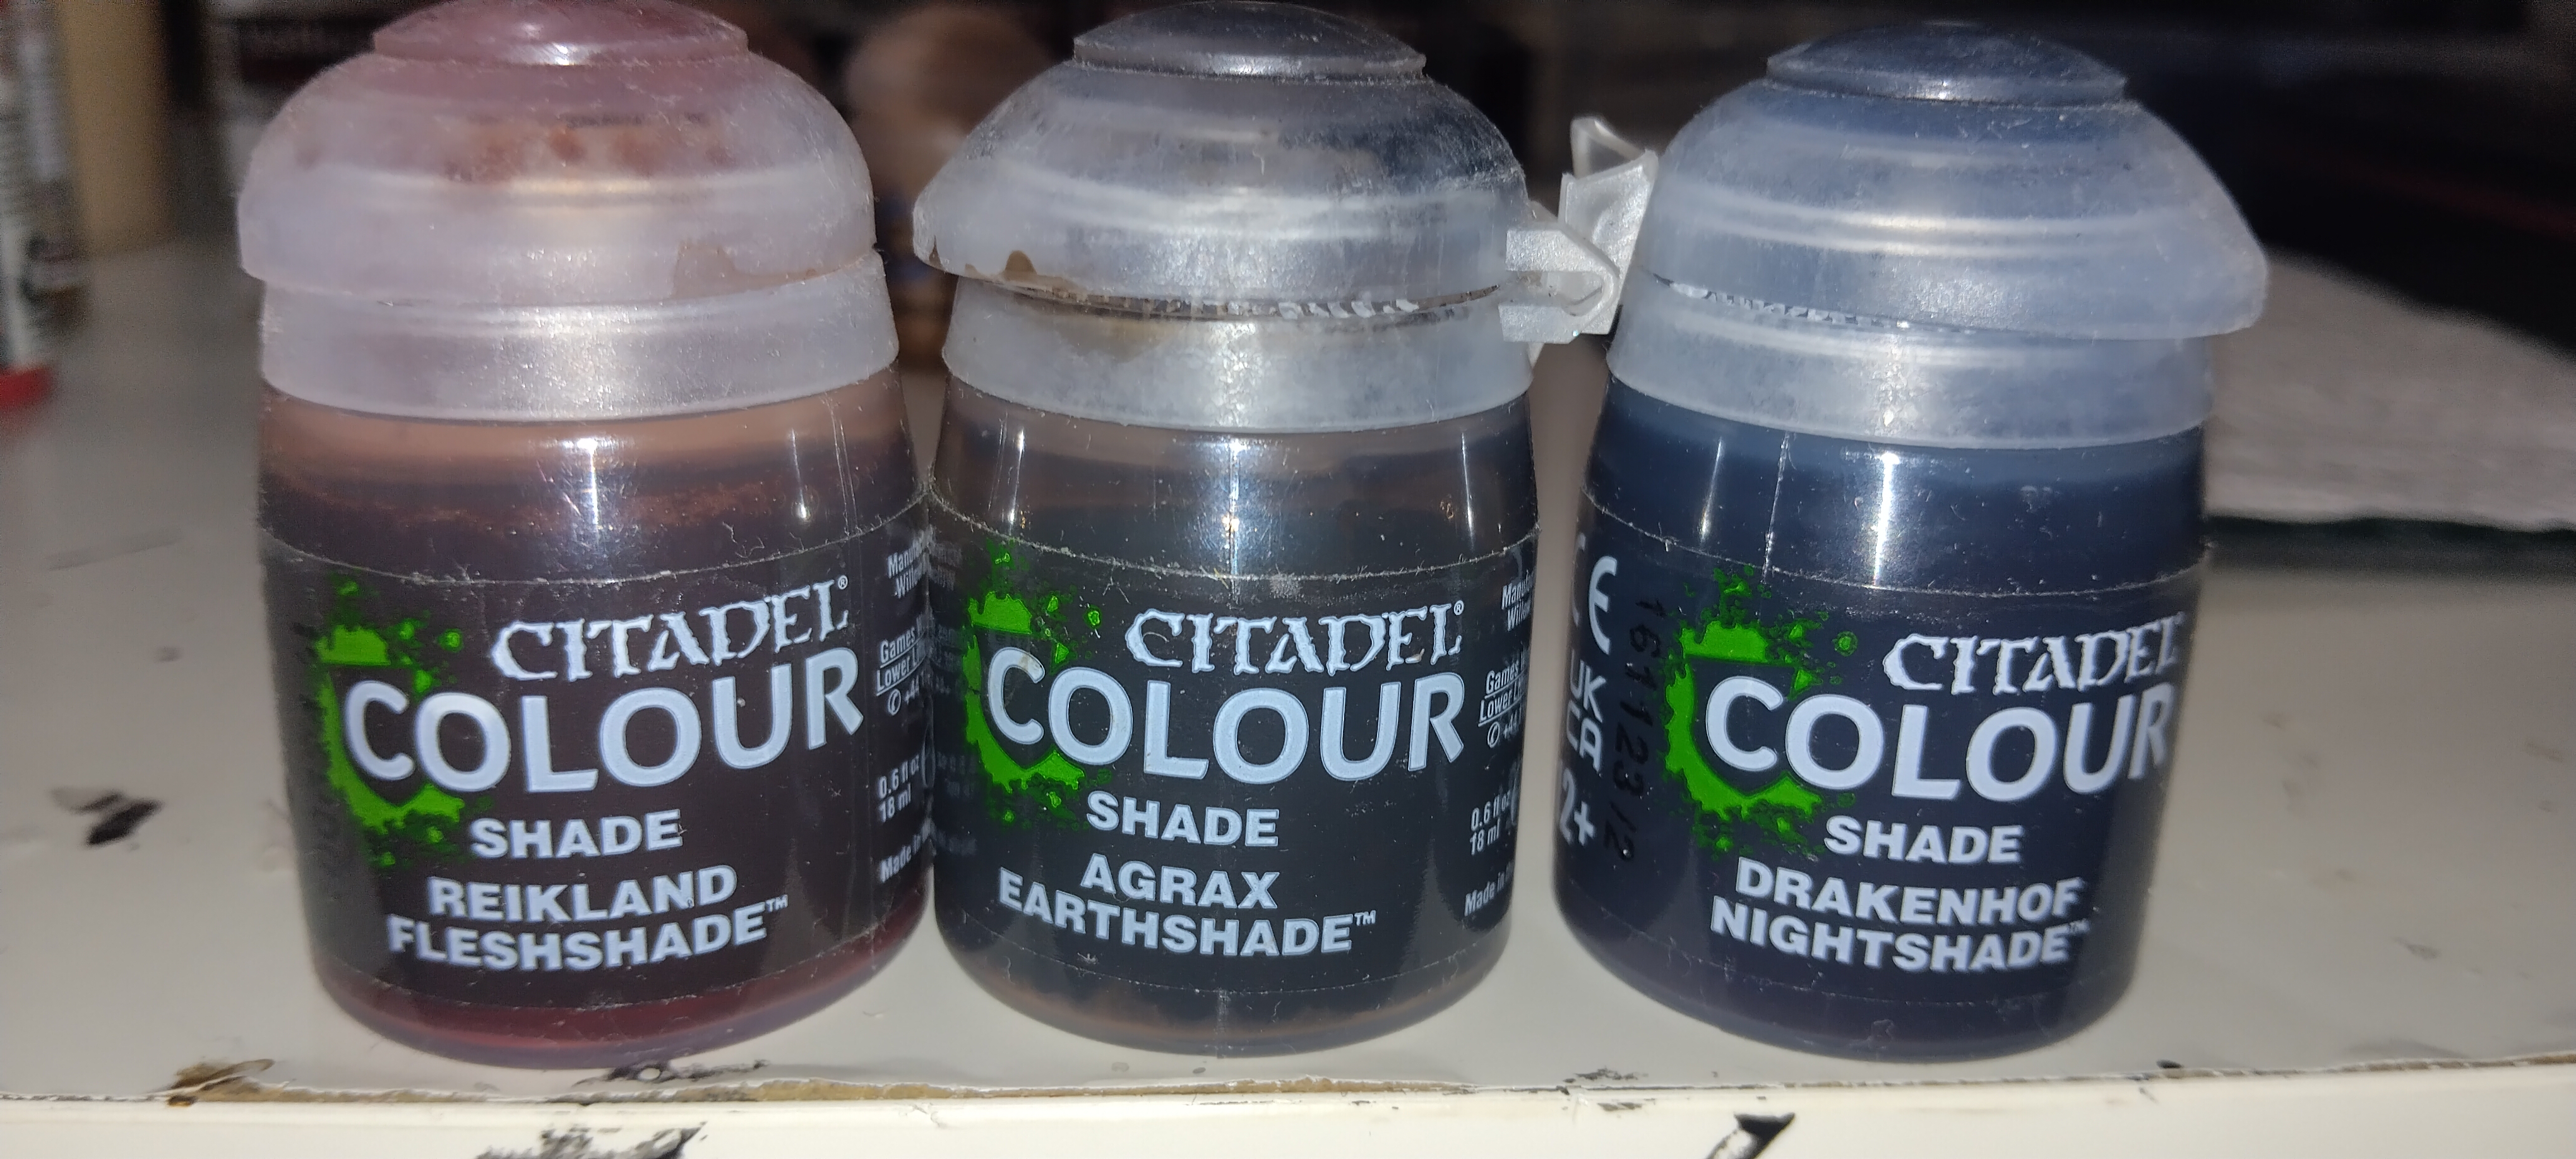
Step 1:
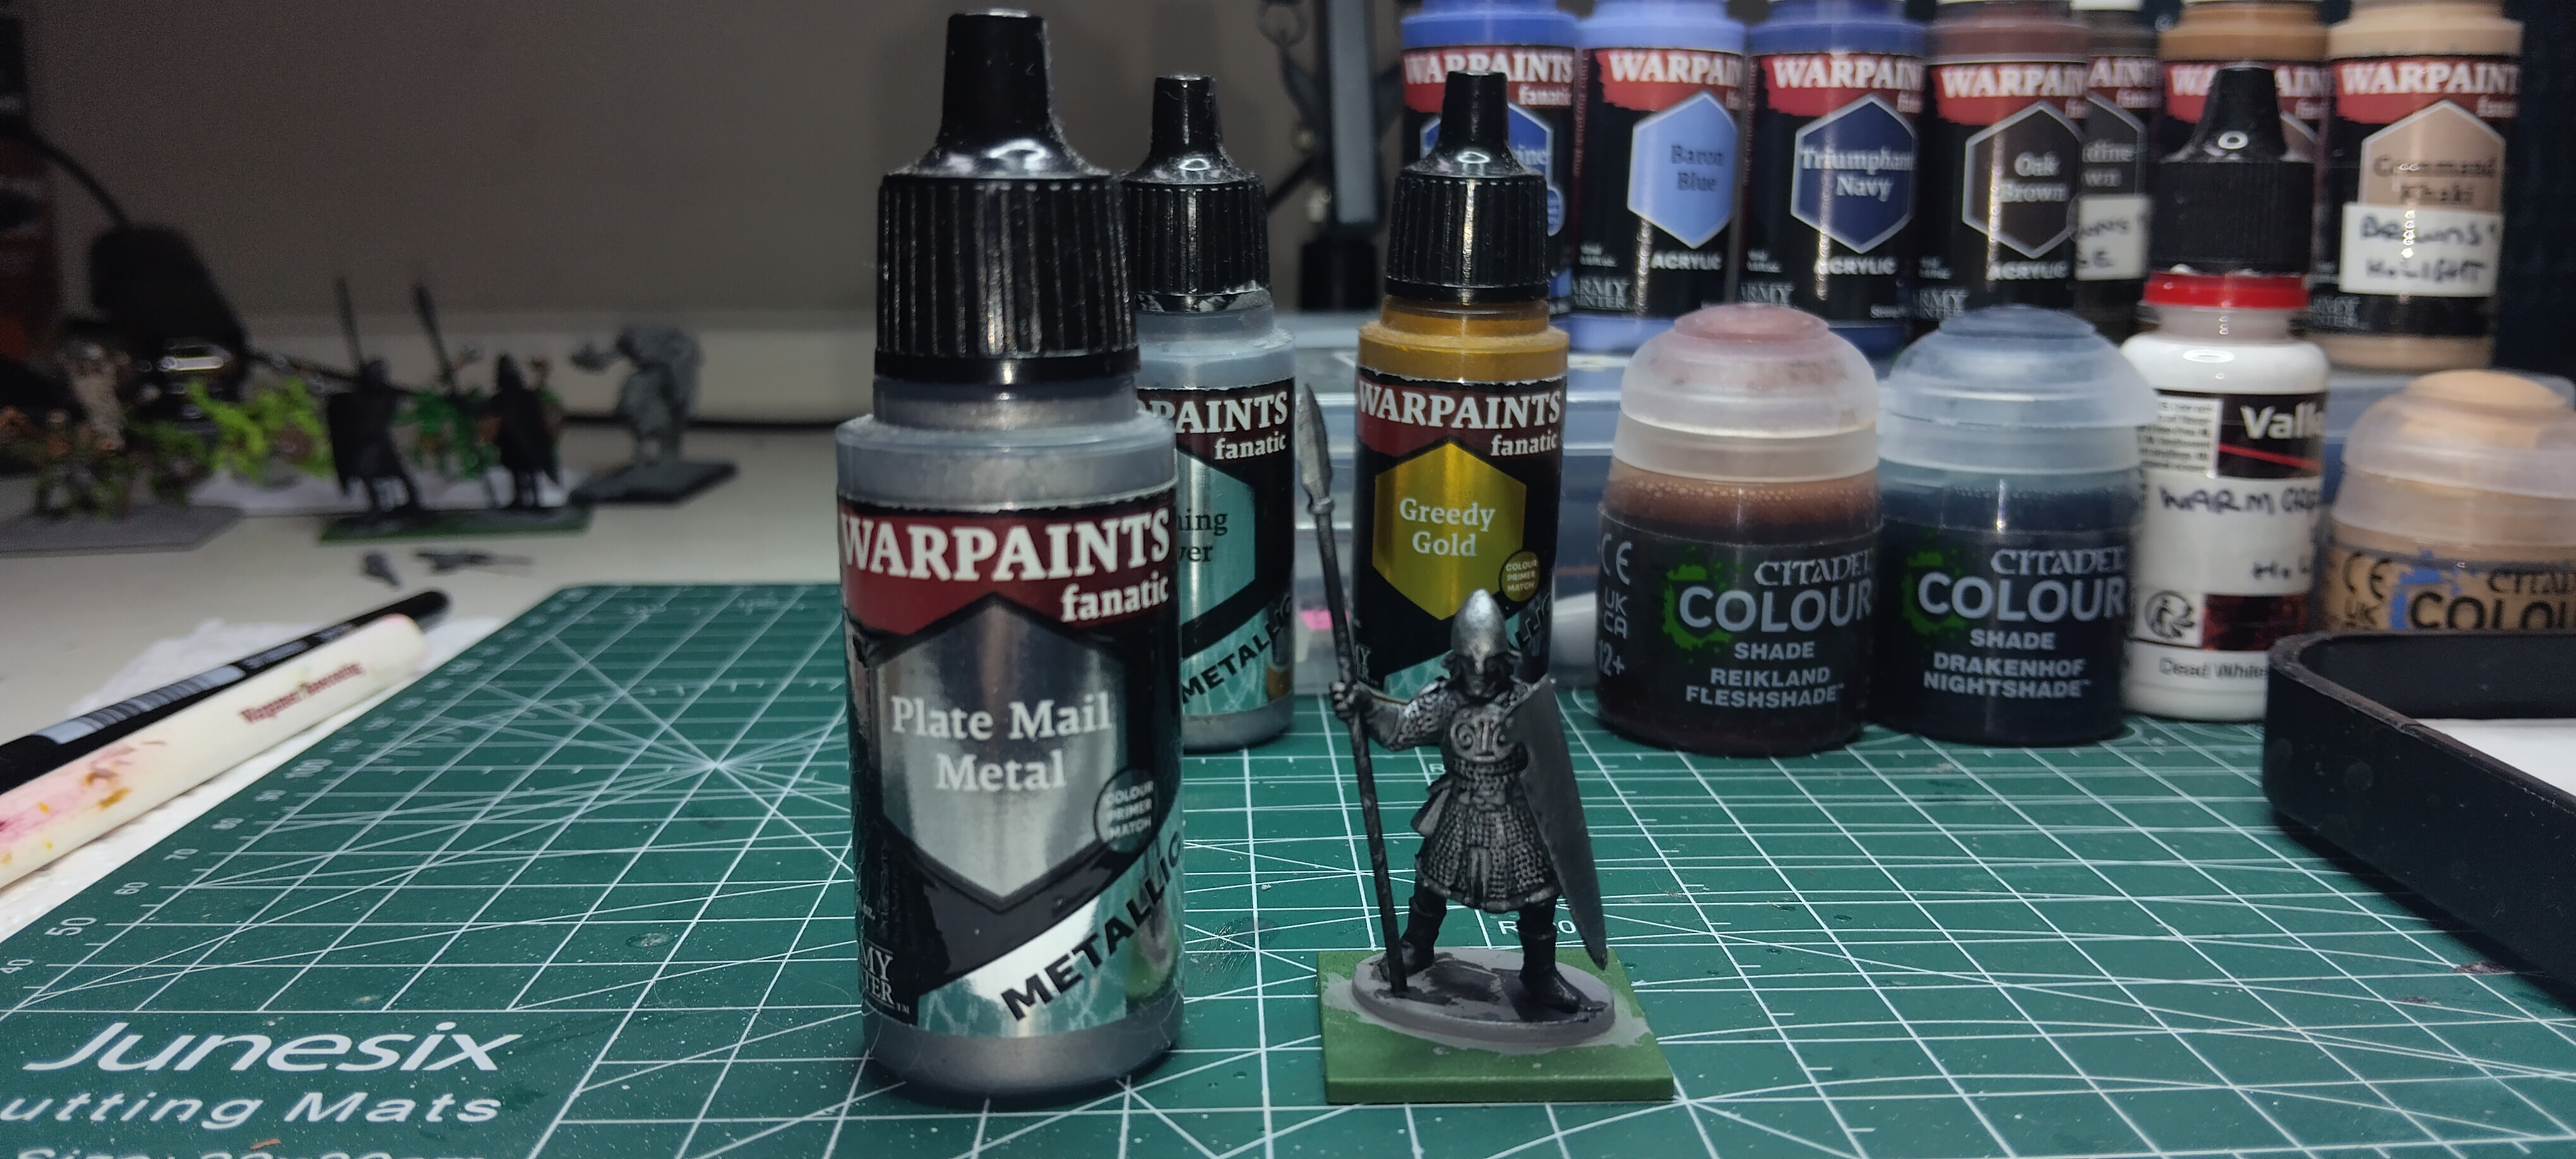
Starting with an infantry model primed in black. Dry brushing the chainmail and armor with Plate Mail Metal (WPF).
Step 2:
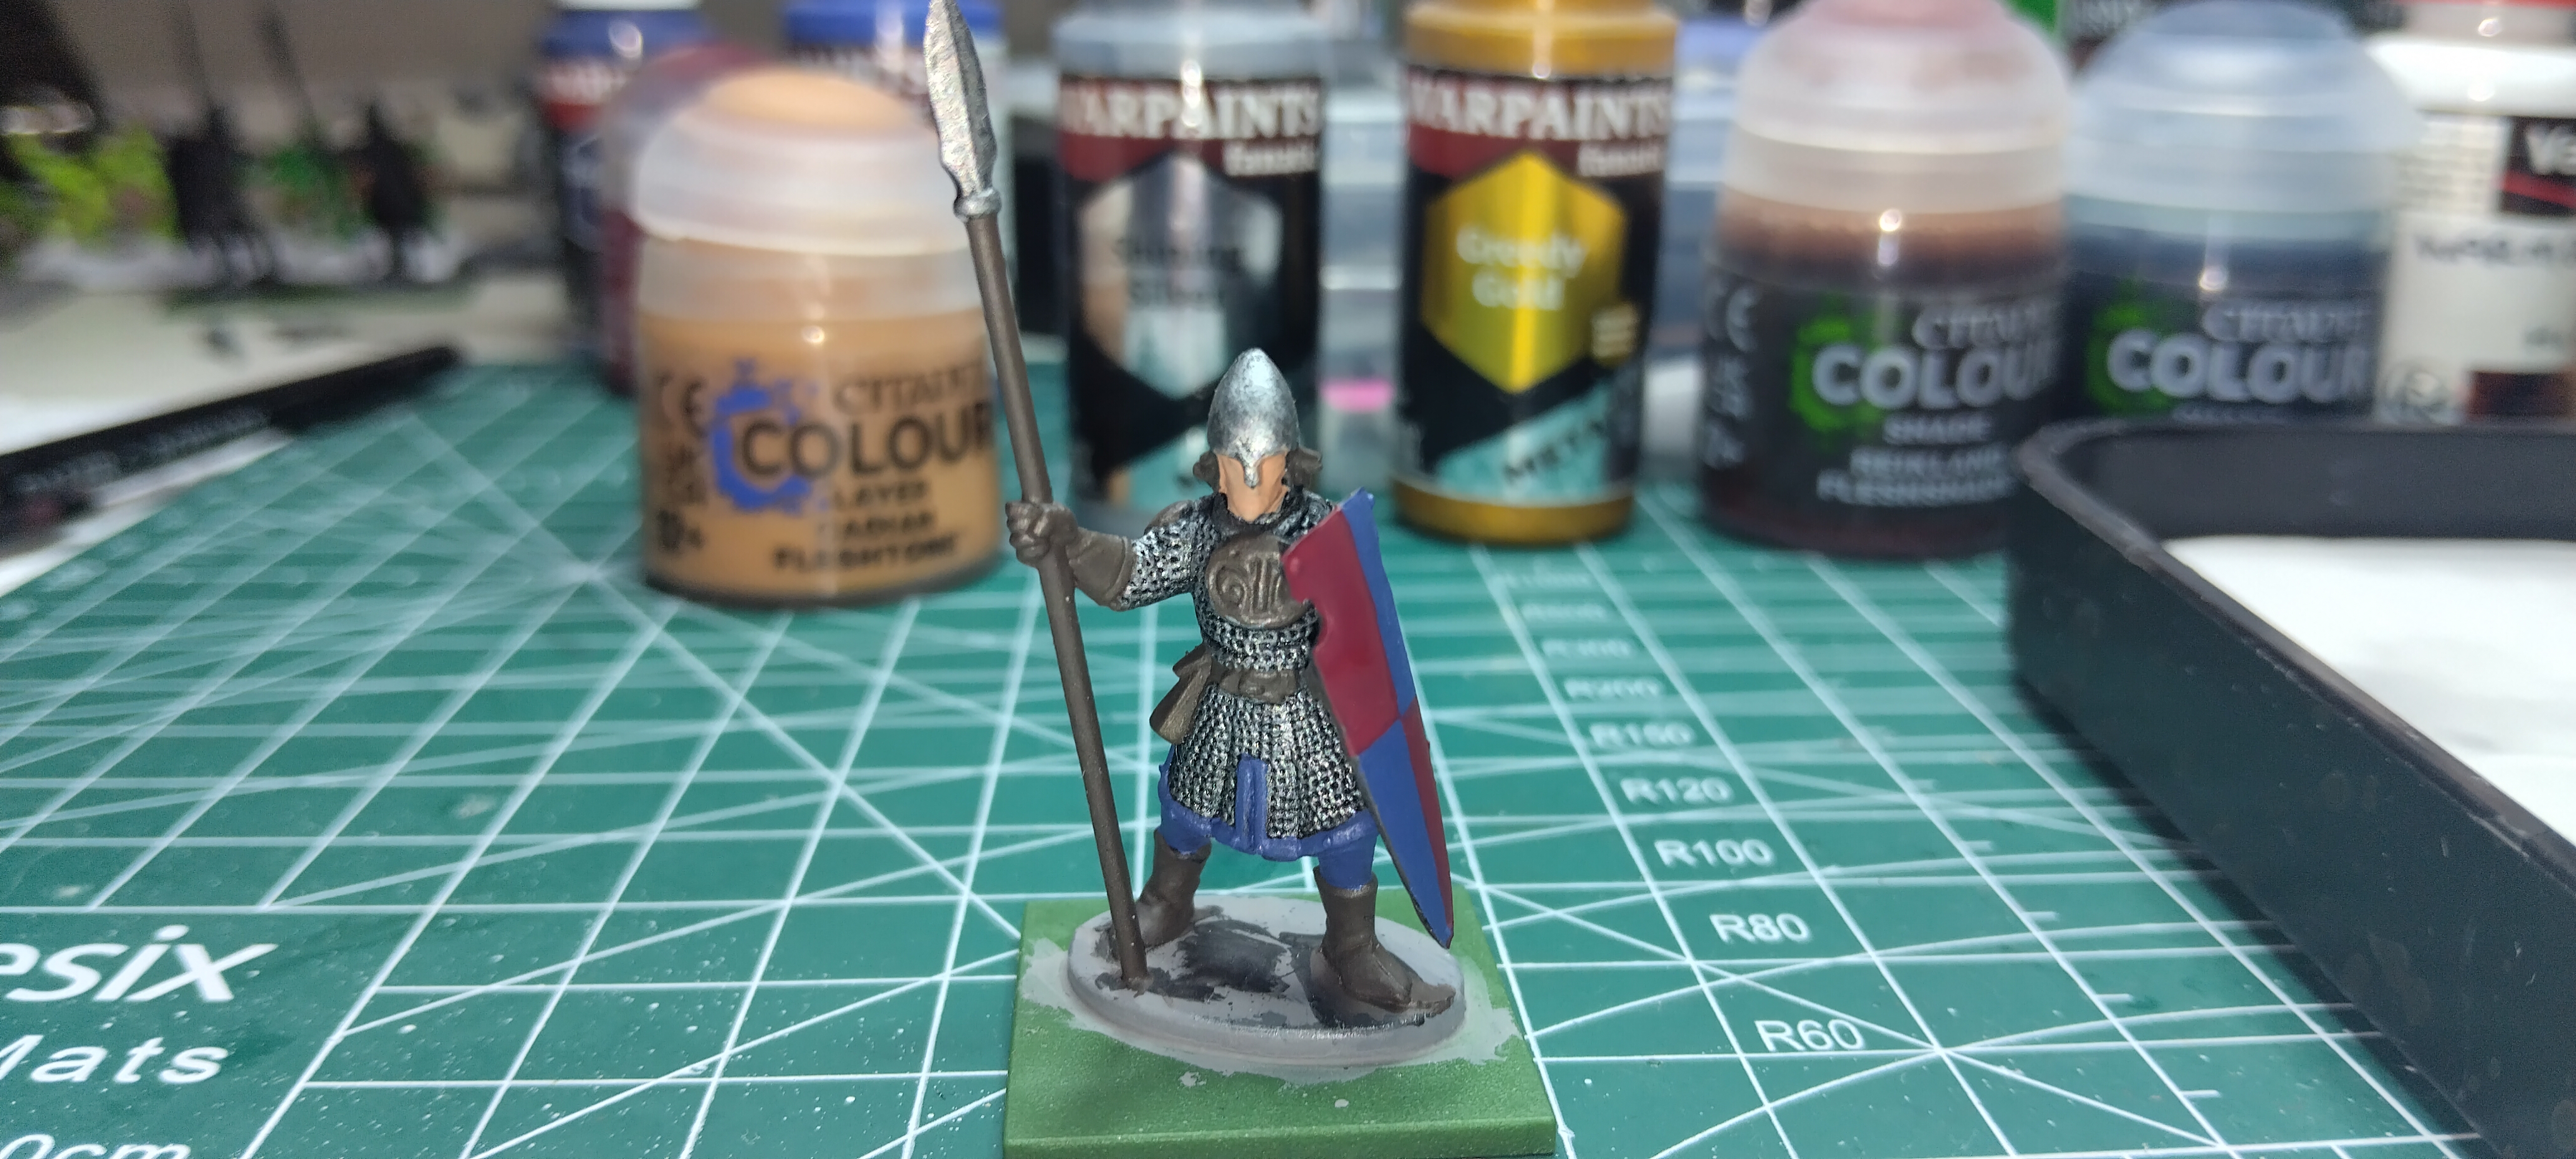
Basecoat the Tunic, shield, spear shaft, belt, boots, gloves, back of shield, shoulder pads, pouches, chest symbol, skin and hair using Brigadine Brown (WPF), Triumphant Navy (WPF), Khorne Red (GW) and Cadian Fleshtone (GW).
If need be, you can optionally start with a darker skin tone for the face to help the lighter Cadian Fleshtone (GW) layer up quicker.
Step 3:
Add a layer of Greedy Gold (WPF) to the shoulder pads, connection point of the spear tip and chest symbol. The reason we add a base coat of Brigadine Brown (WPF) before gold is this Brown (or alternatively a dark red) can act as a good base coat for gold paint which usually doesn’t have a great coverage.
Feel free to add a second layer of Cadian Fleshtone (GW) if the layer from Step 2 did not provide sufficient coverage.
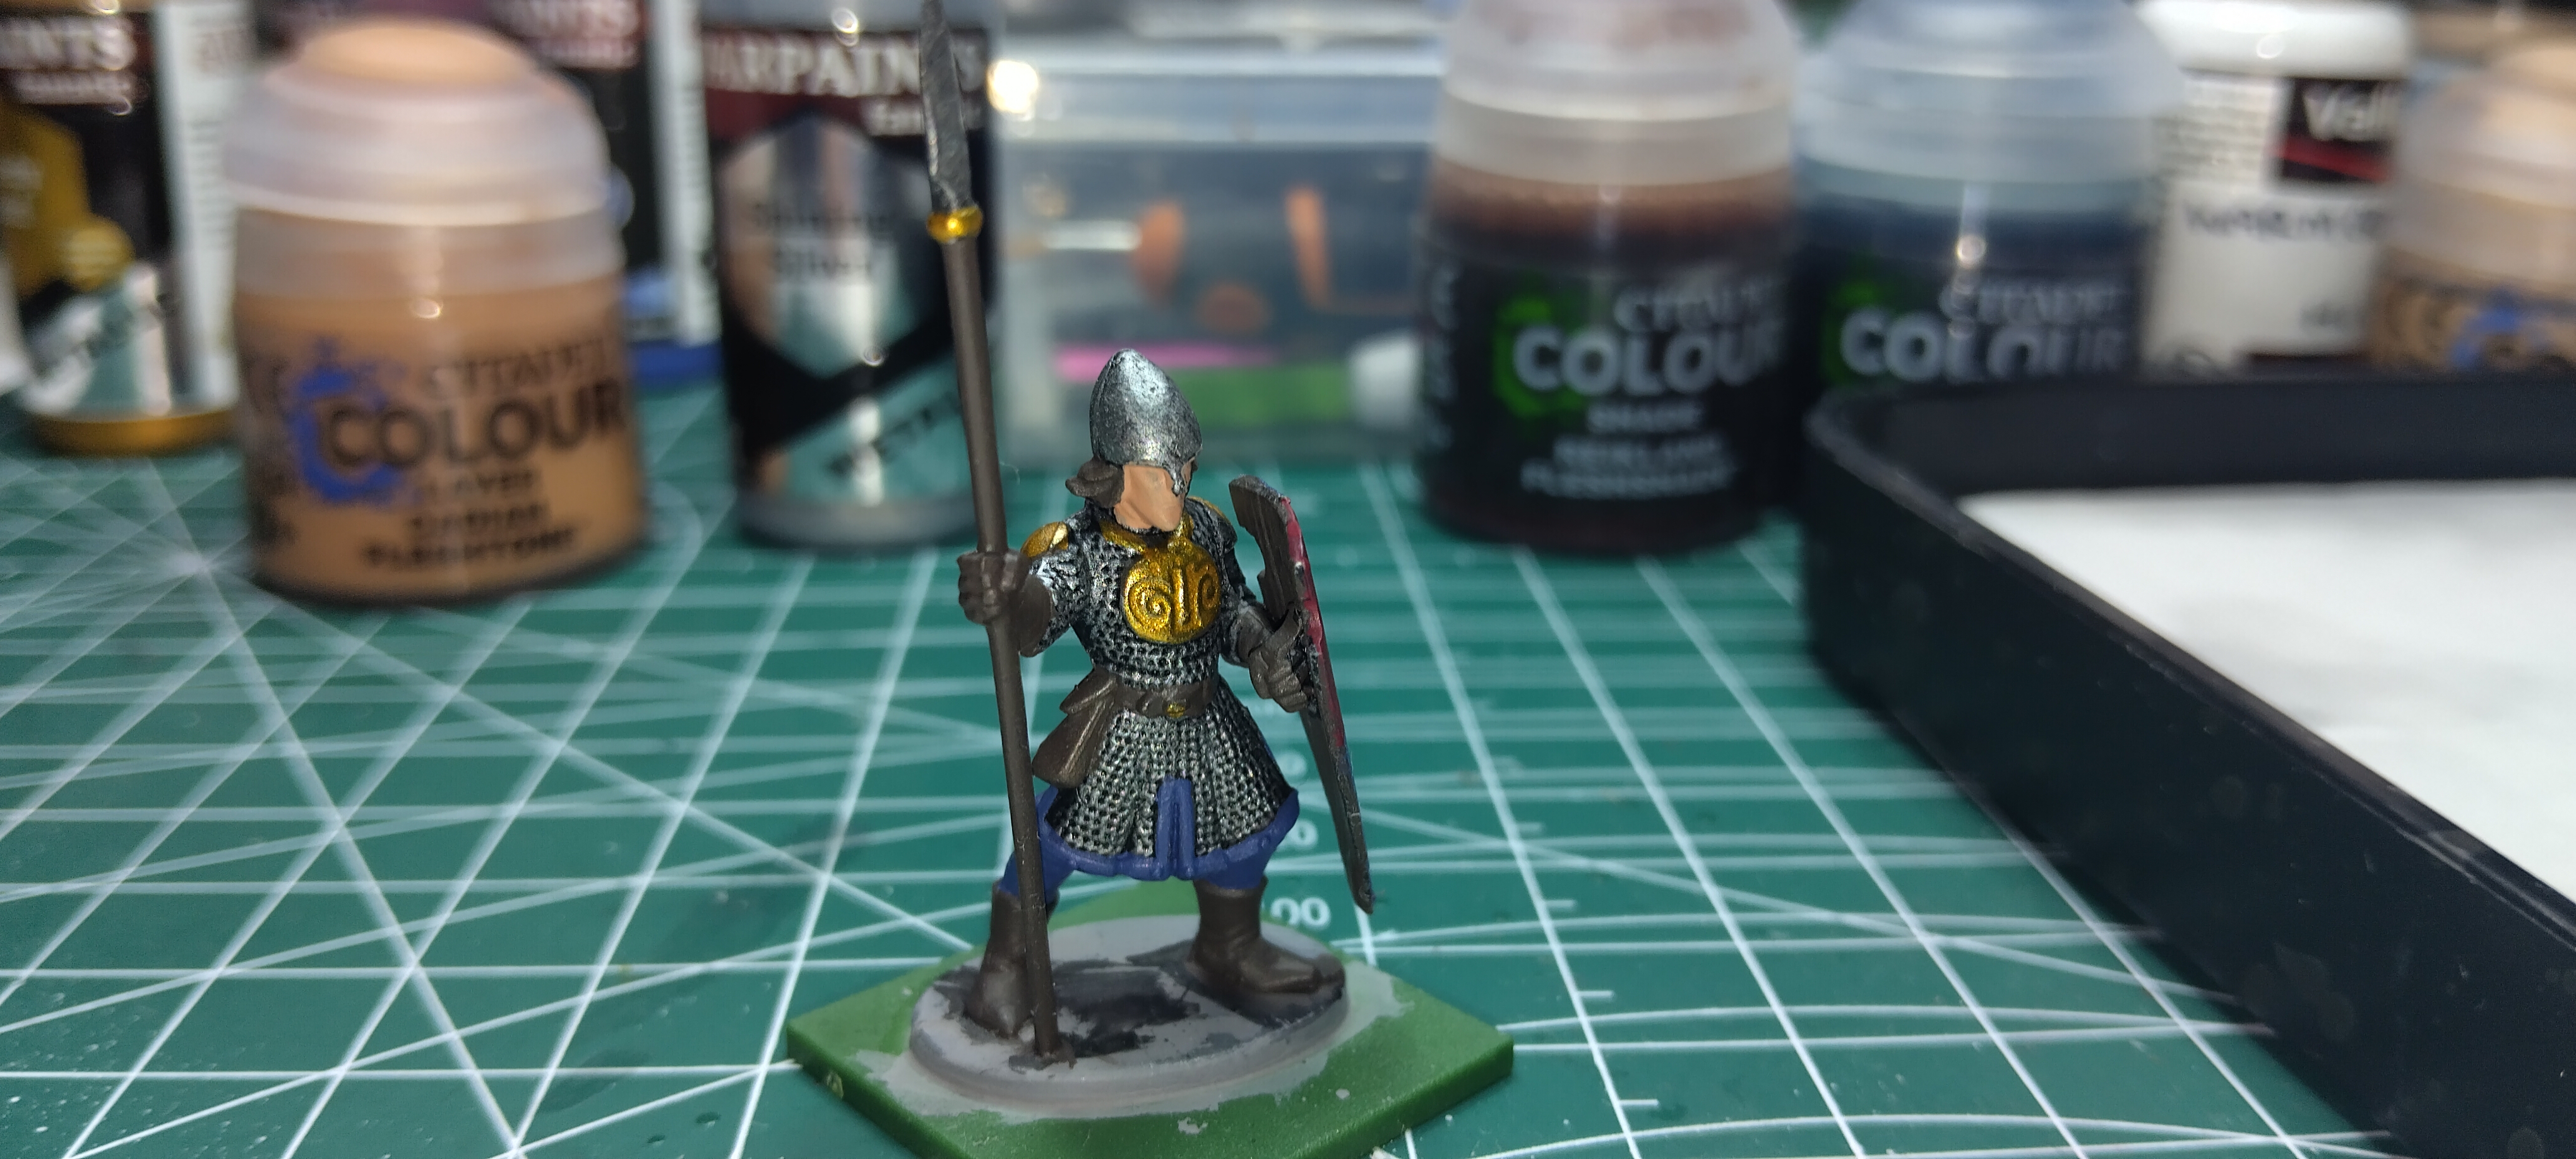
Step 4:
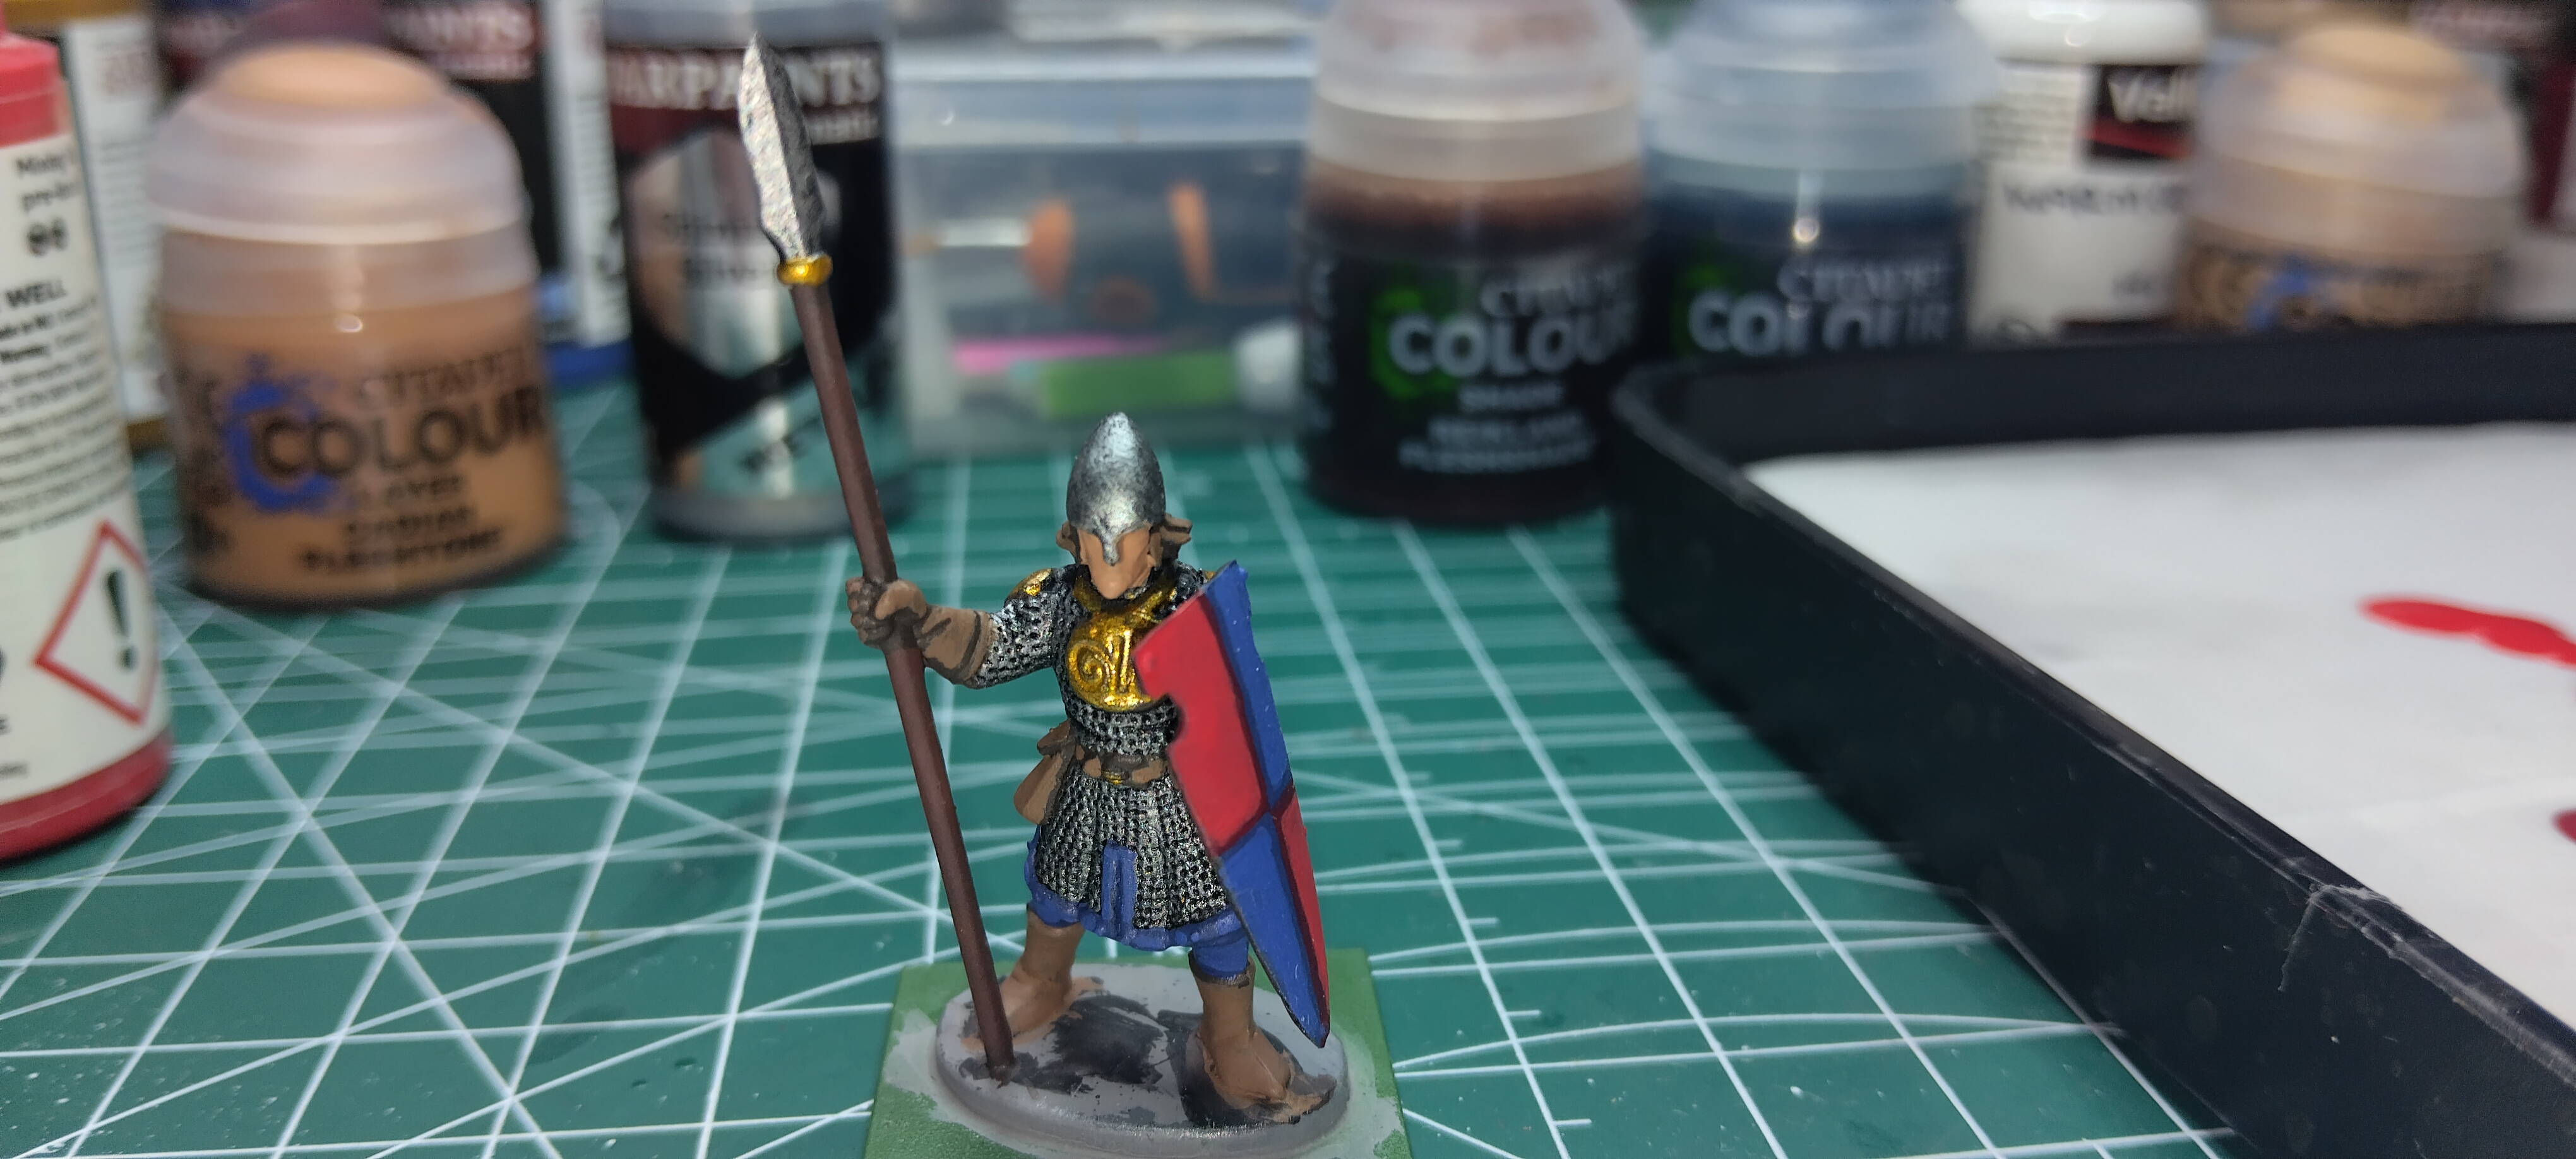
Next up is the layers. For the blue and red I used Ultramarine Blue (WPF) and Pure Red (WPF) respectively, the brown received a layer of Leather Brown (WPF) on the gloves, boots, pouches, belt and hair, and a layer of Oak Brown (WPF) on the spear shaft and back of shield.
With the shield pattern, be sure to leave the base coats showing on the line between the colors, this creates a nice border.
On the spear shaft, leave the base coat showing on the crevices near the spear tip, hand and also on the very base of the shaft.
With the hair, use the Leather Brown (WPF) more as a highlight, leaving the base coat in the recesses and darker areas to create a nice contrast.
Once again if the layer of Cadian Fleshtone (GW) did not provide sufficient coverage in Step 3, add another layer here. This should be enough of a base coat for our final flesh color.
Step 5:
At this stage, I layered on some Shining Silver (WPF) to the Spear tip, helmet and some of the raised areas of the chainmail. This may look too bright for now but we will tone this down towards the end with washes.
At this stage we will add an overcoat of Kislev Flesh (GW) to the face to get our main skin tone.
Another layer on the spear’s shaft. Dryad Brown (WPF) was used much liked we did with the Oak Brown (WPF). Make sure you make this layer go towards the center of each half of the shaft, leaving the base and previous layer showing to some degree.
Step 6:
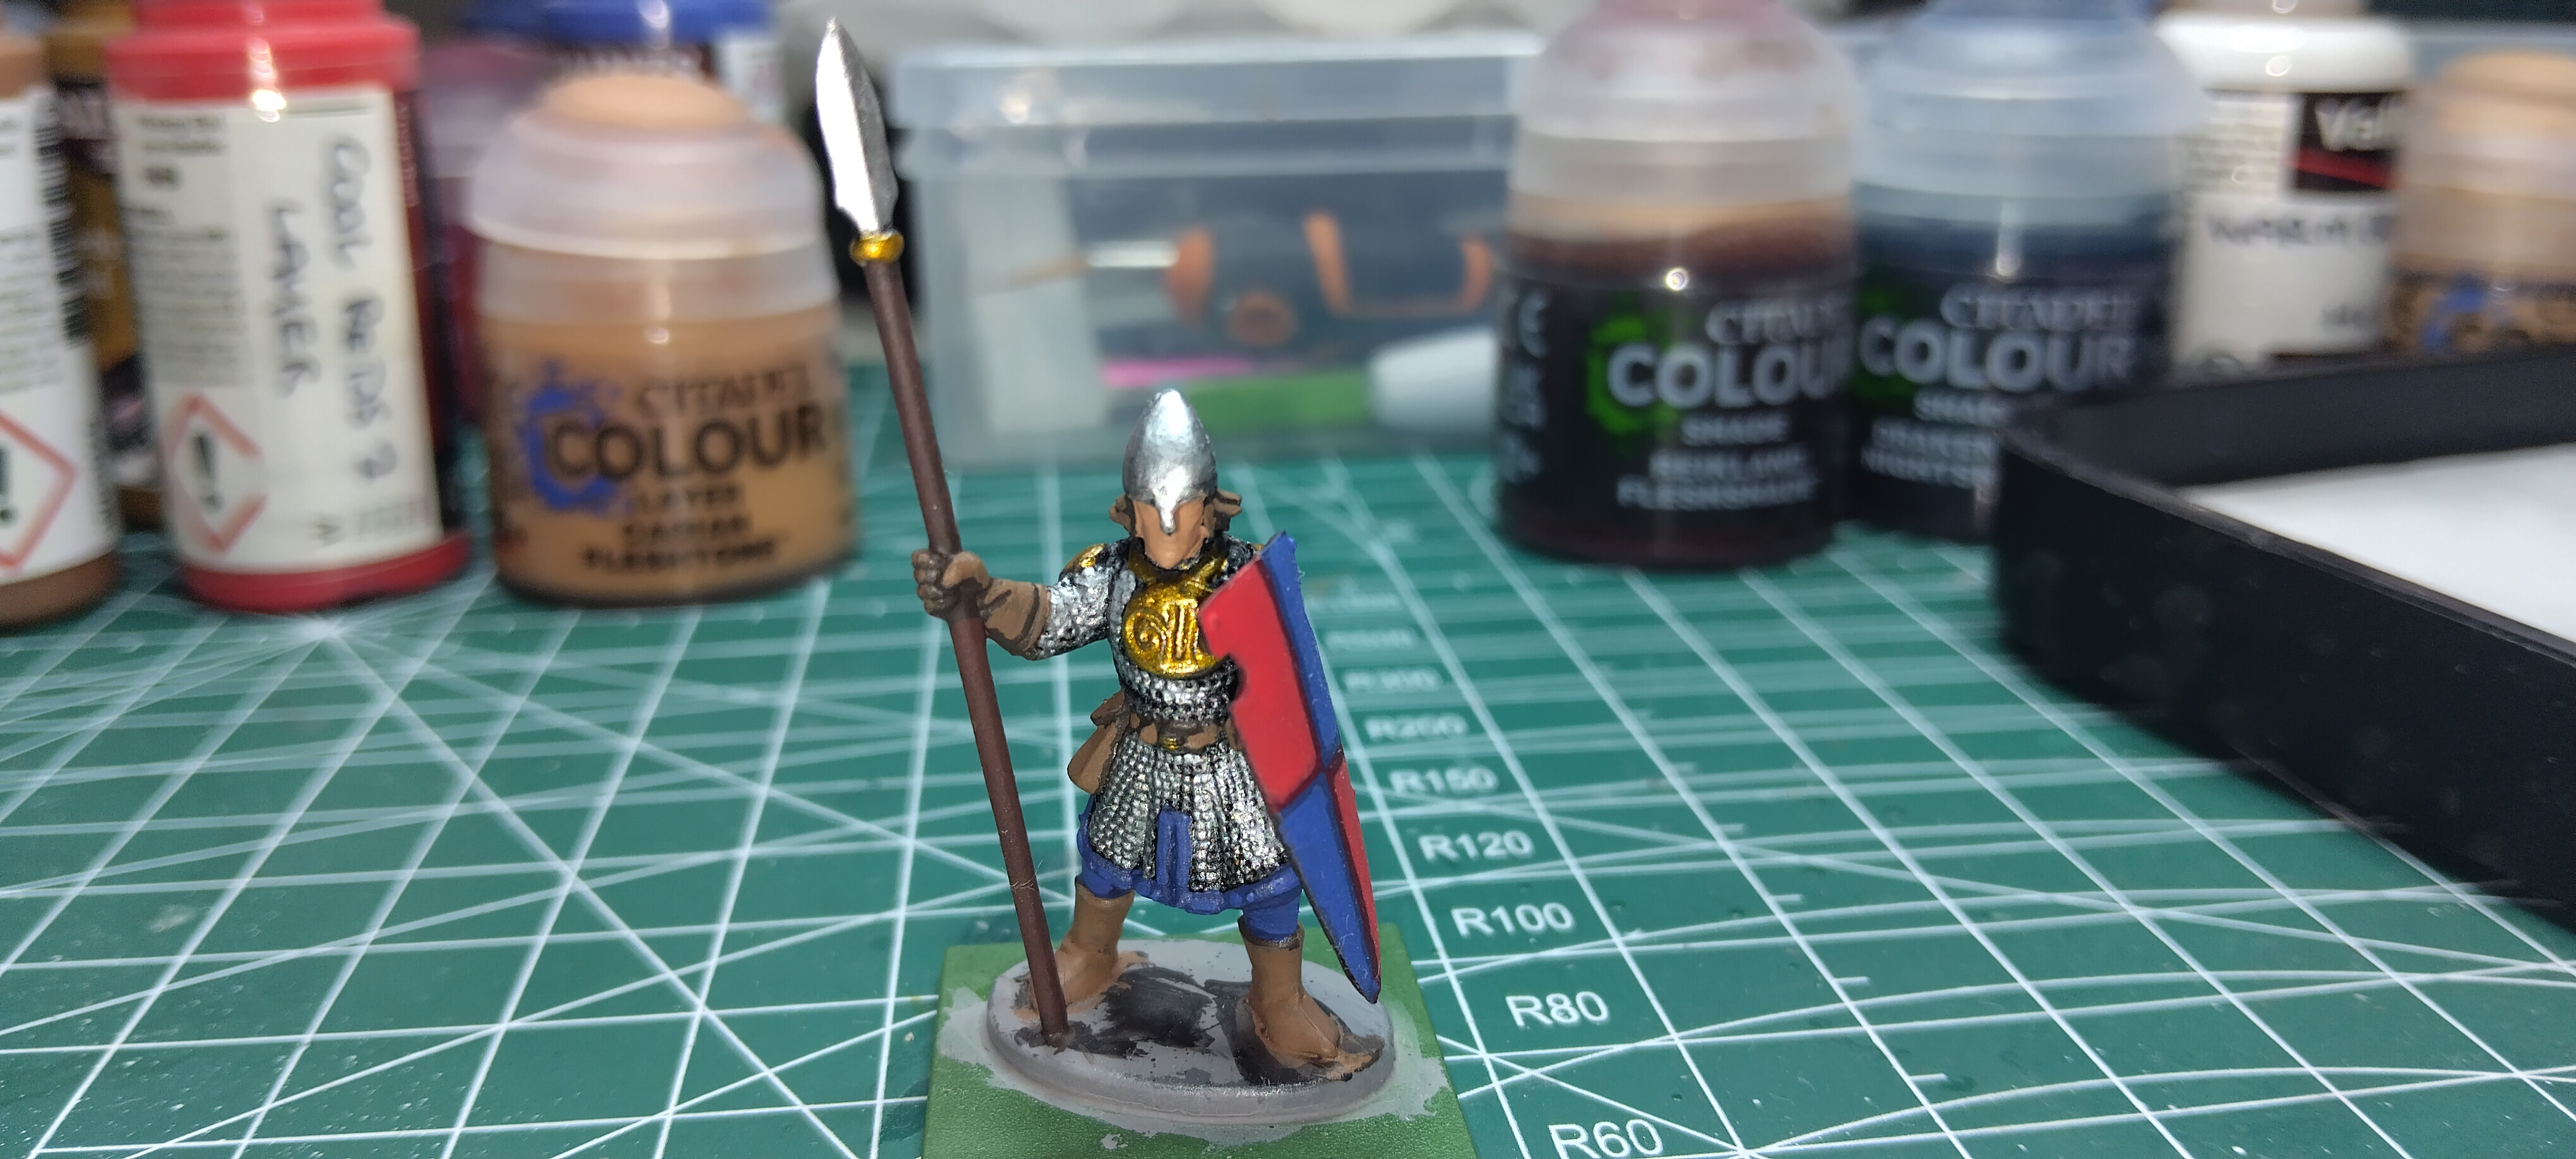
For highlights I used Baron Blue (WPF) and a mix of Pure Red (WPF) + White Paint to highlight the blue areas and the shield pattern. This really helps the shield pop from a distance.
Pale Sand 70.837 (Val.) was used to do the final highlight on the hair. For the gloves, belt and pouches I added a highlight of Command Khaki (WPF) but I left the boots as leather brown at this stage.
I also used Plate Mail Metal (WPF) to paint the edge of the shield.
A final layer on the shaft, Leather Brown (WPF) was used to add one final bit of color, again making sure to do a smaller area than the previous layers so we get a gradient transition.
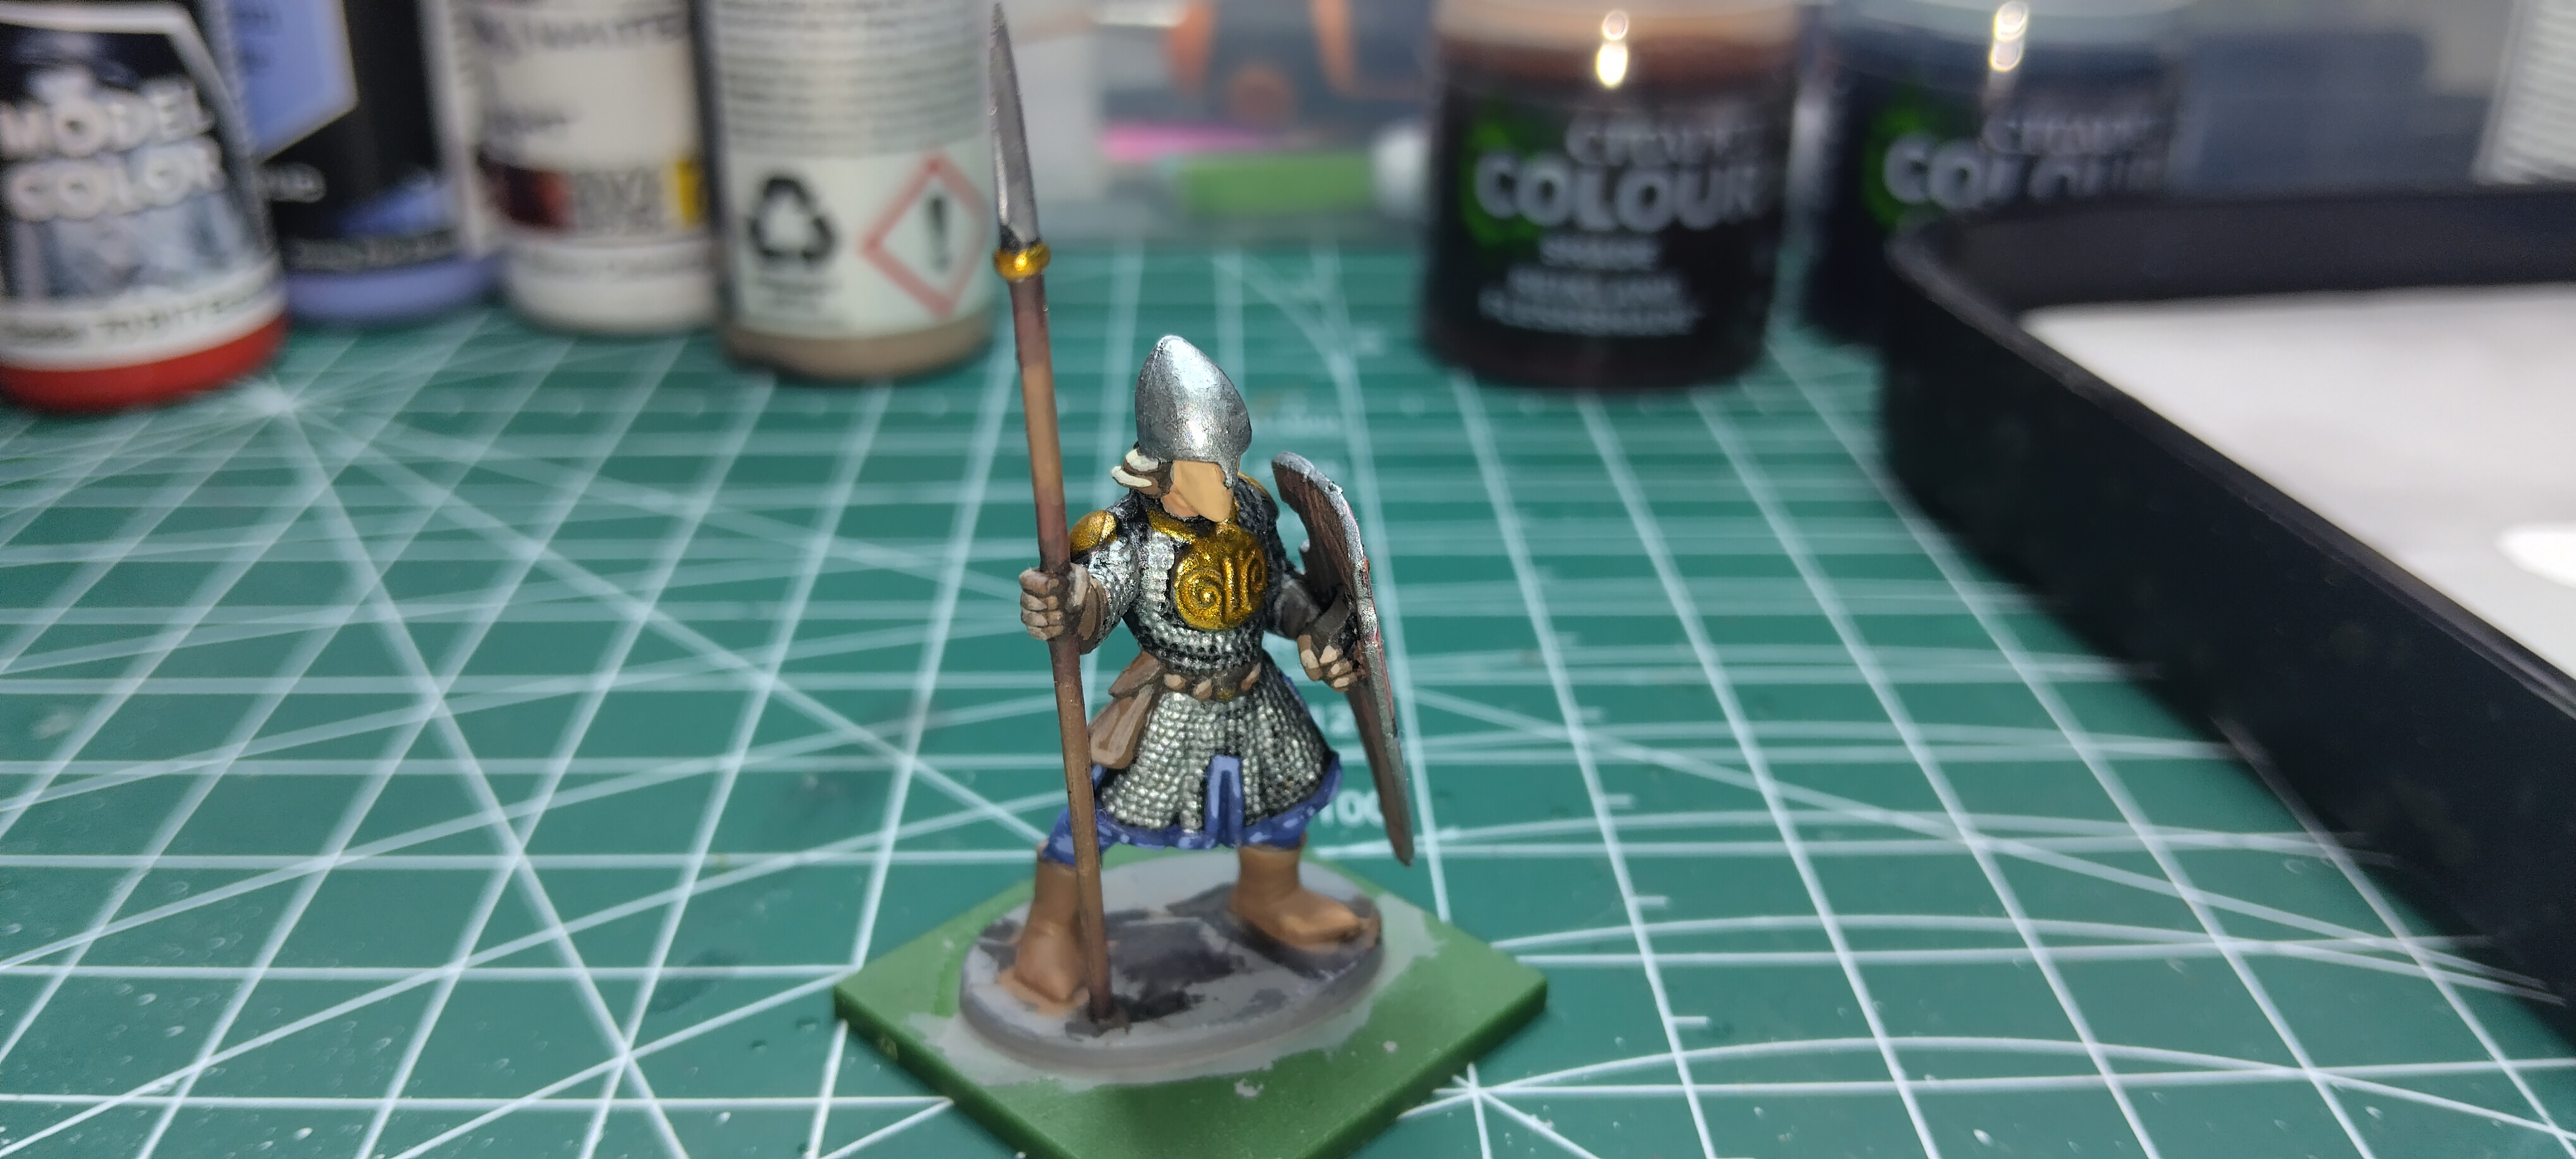
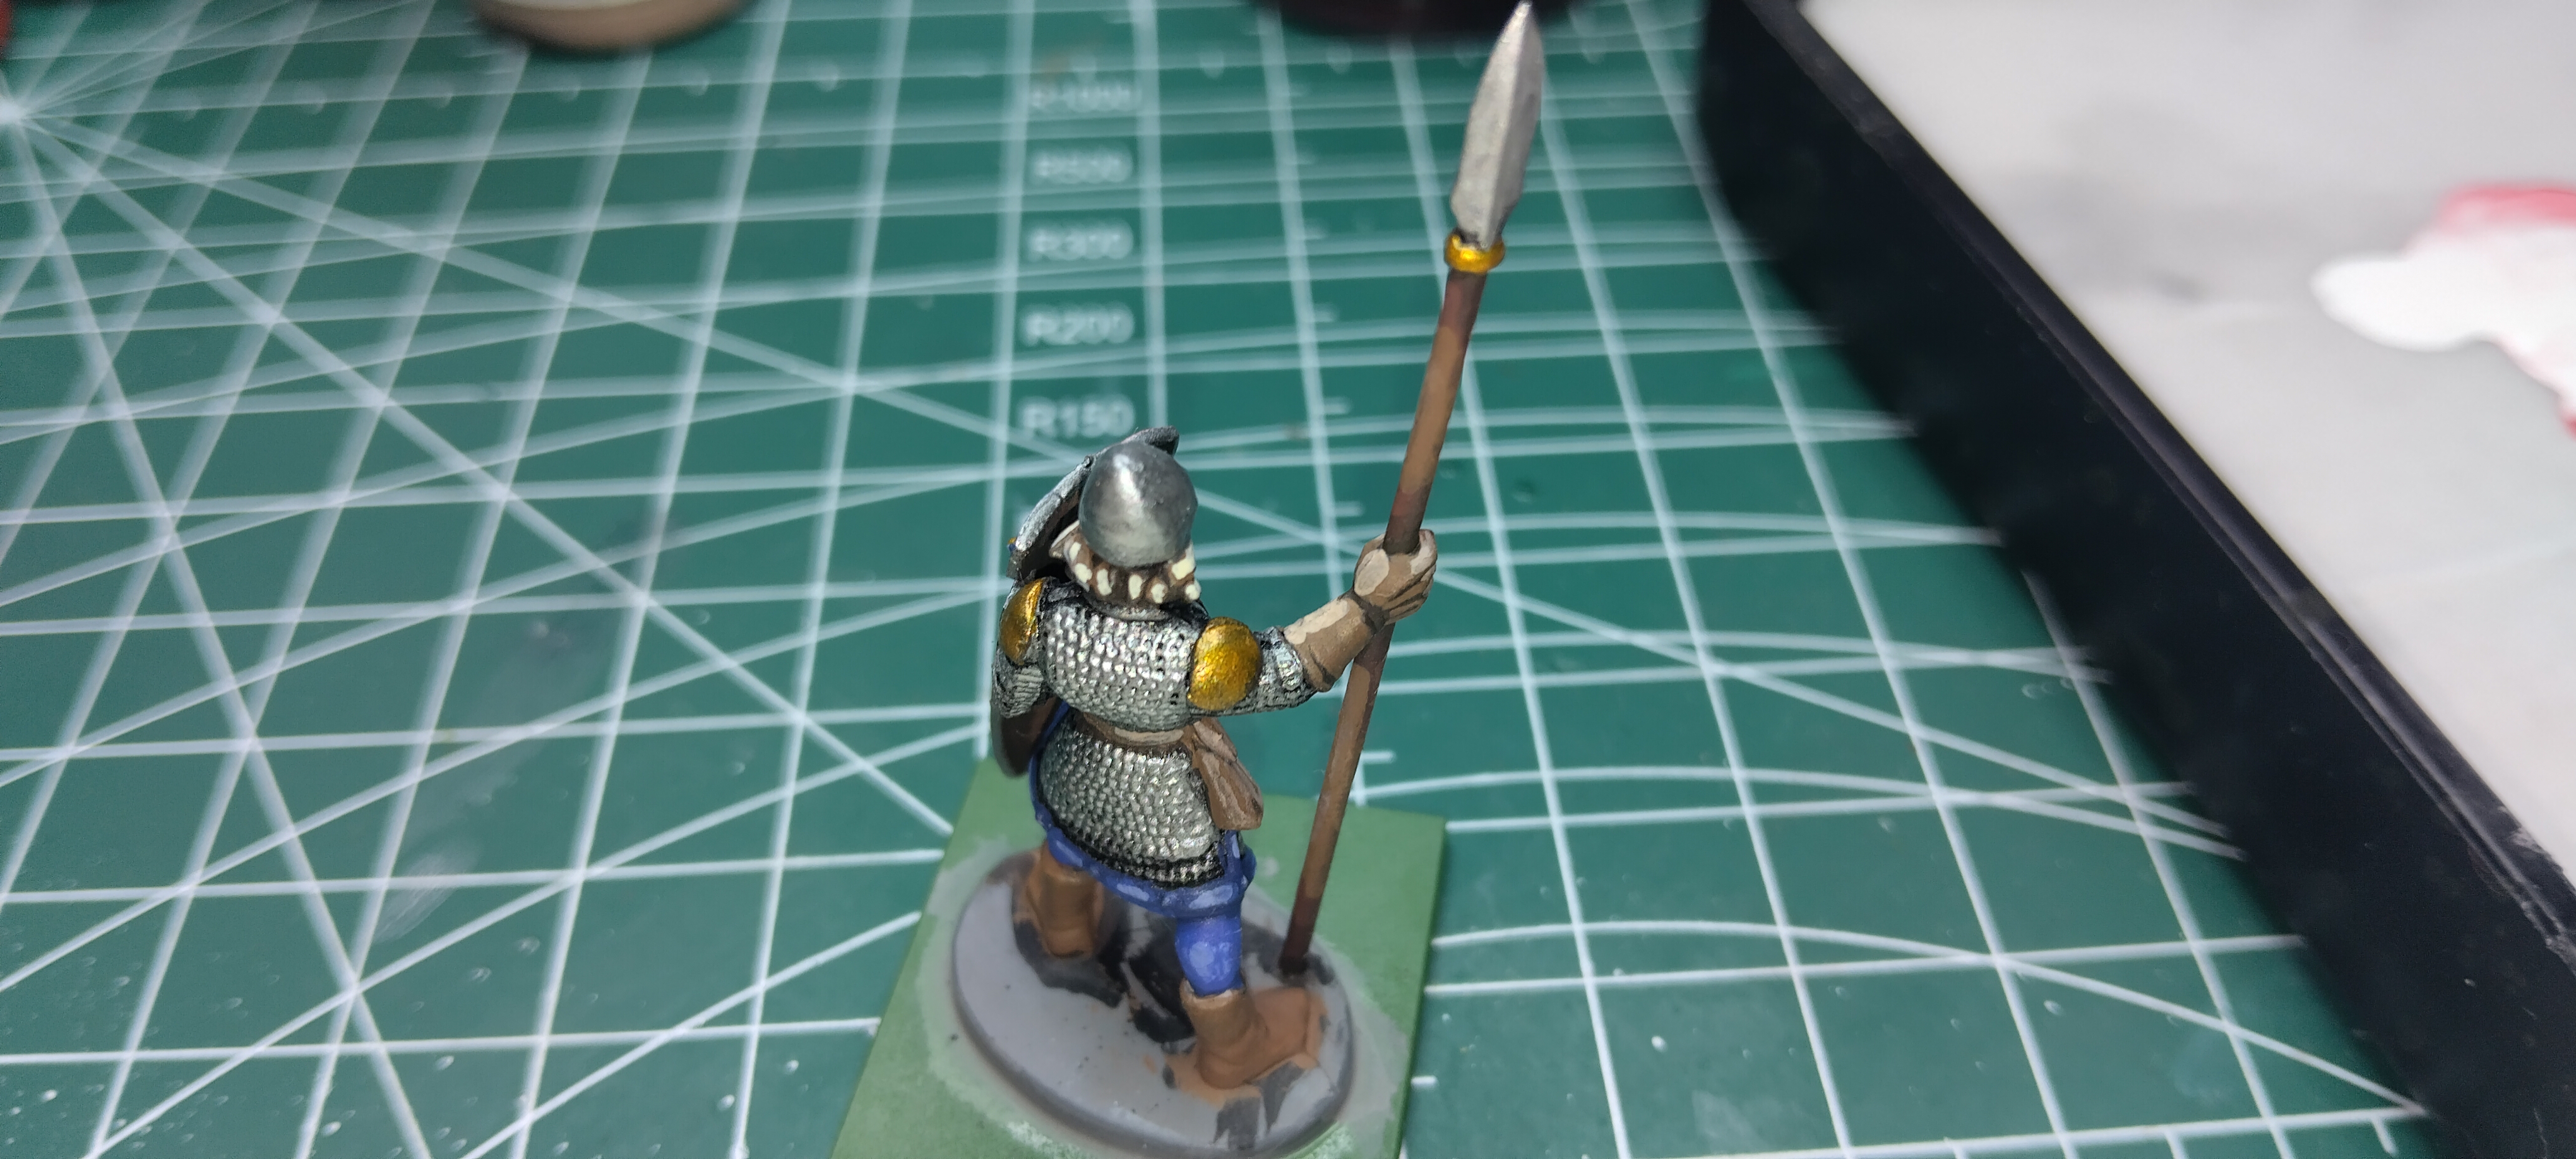
Step 7:
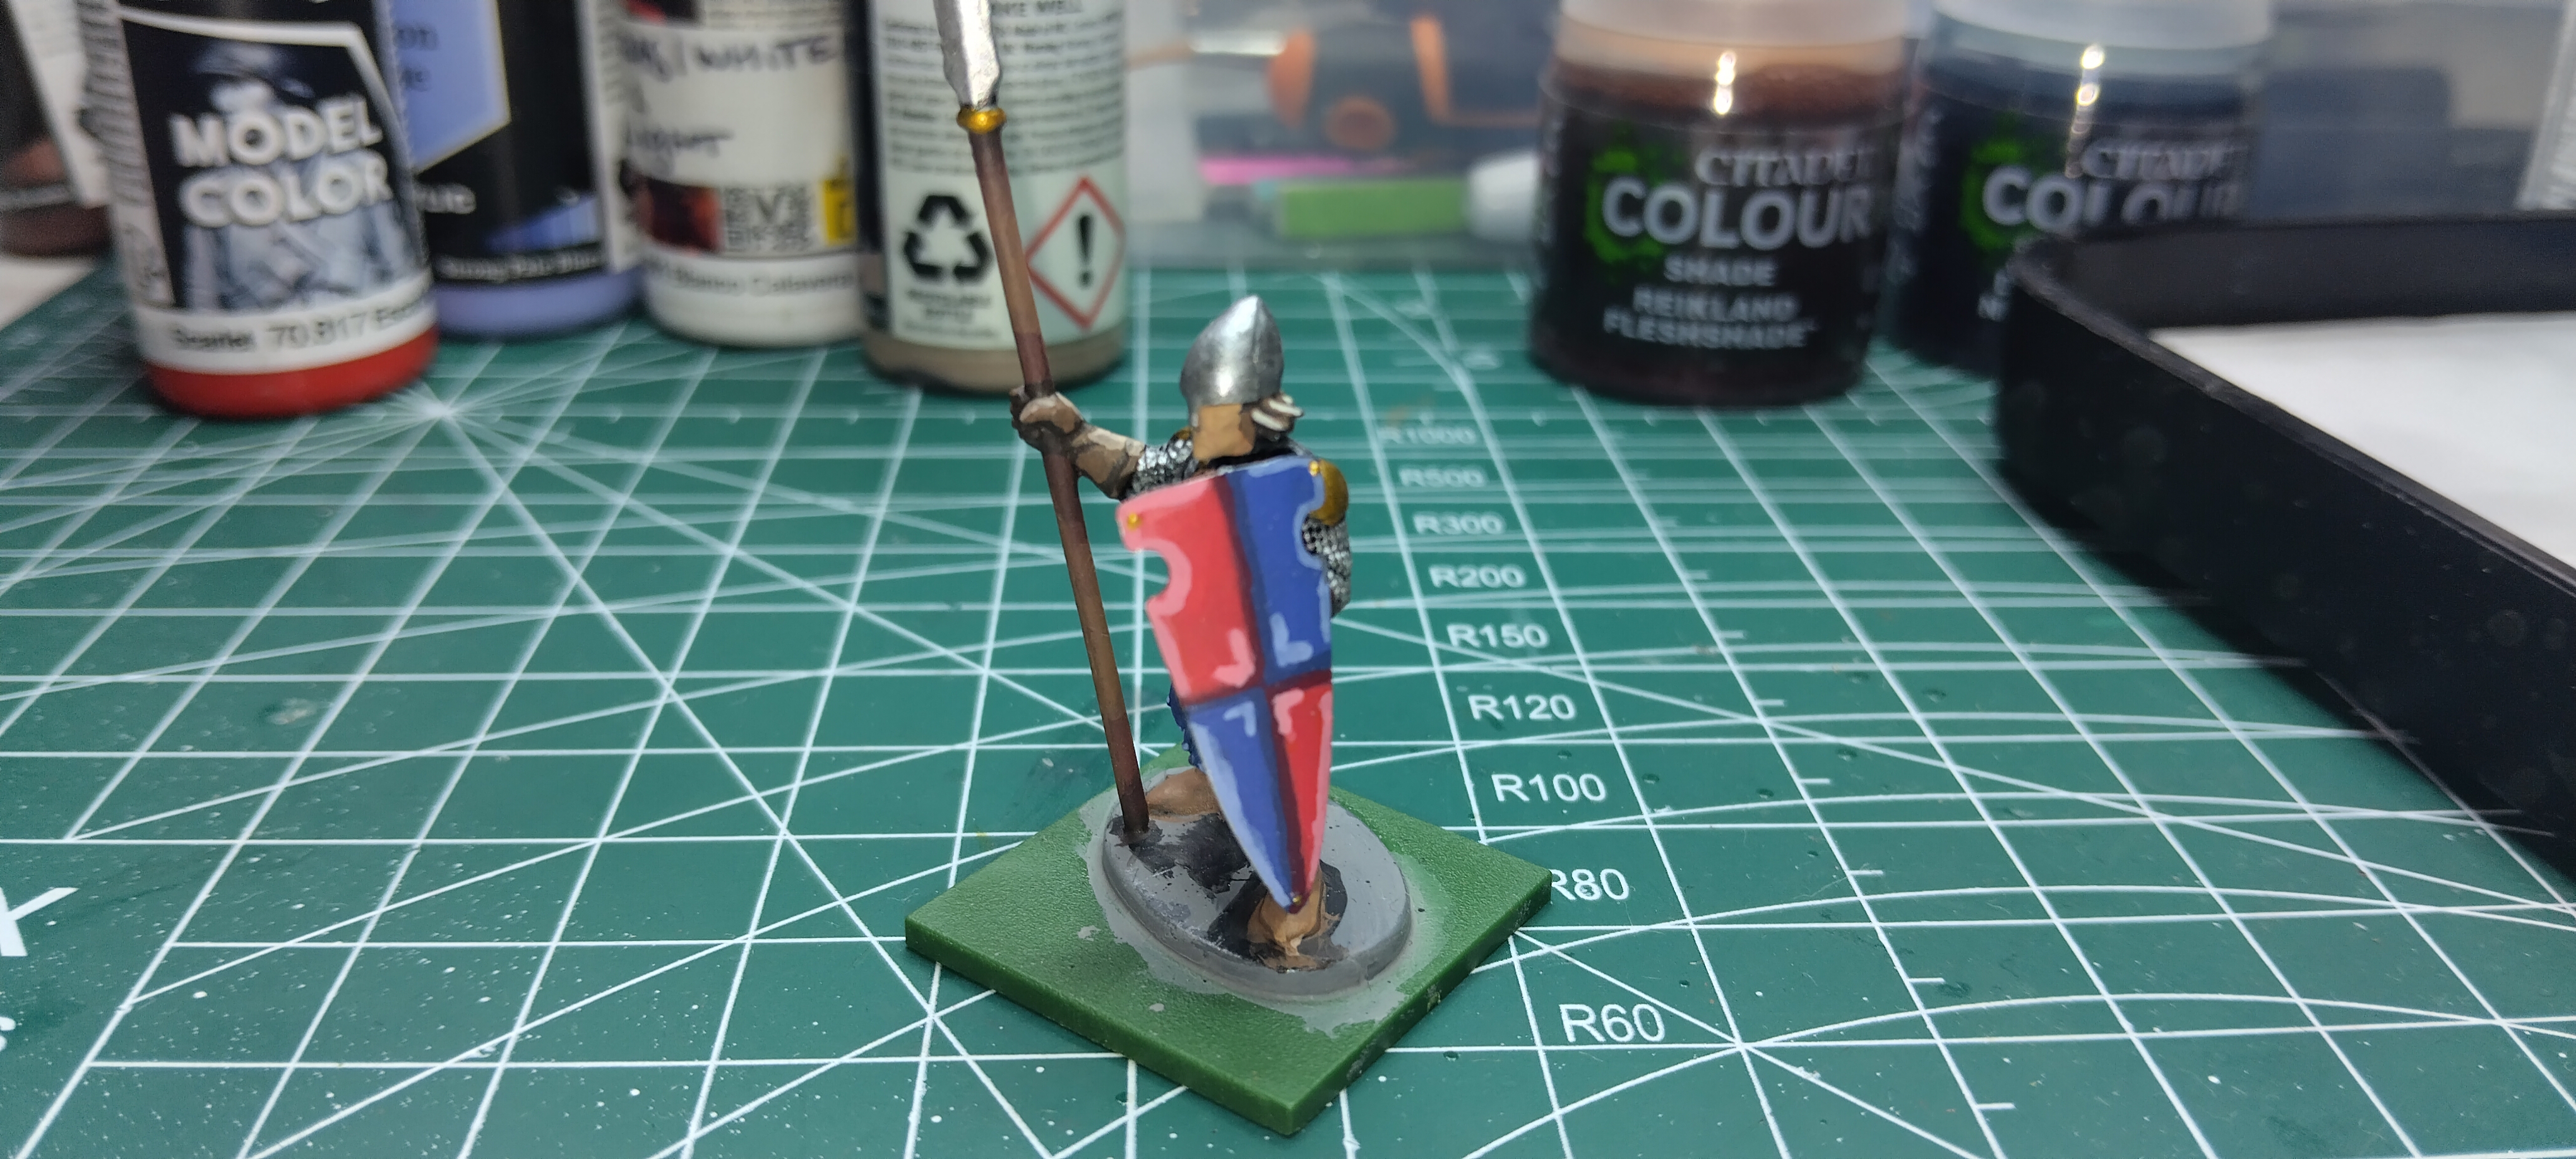
Finally we are going to wash the model in most areas, except the front of the shield.
Reikland Fleshshade (GW) is used for the face and hair, making sure the wash on the face is pooling towards the mouth, eyes and cheek recesses to enhance the facial features slightly.
Drakenhof Nightshade (GW) is applied to the silver areas of armor, the helmet and spear tip receive this wash too, but used more of a glaze, making sure pooling is kept to the bear minimum. You also want to use this around the trim of the tunic.
Finally, Agrax Earthshade (GW) is used on the gold and browns.
From here you can base the miniature and always add some extra highlights if you so desire.
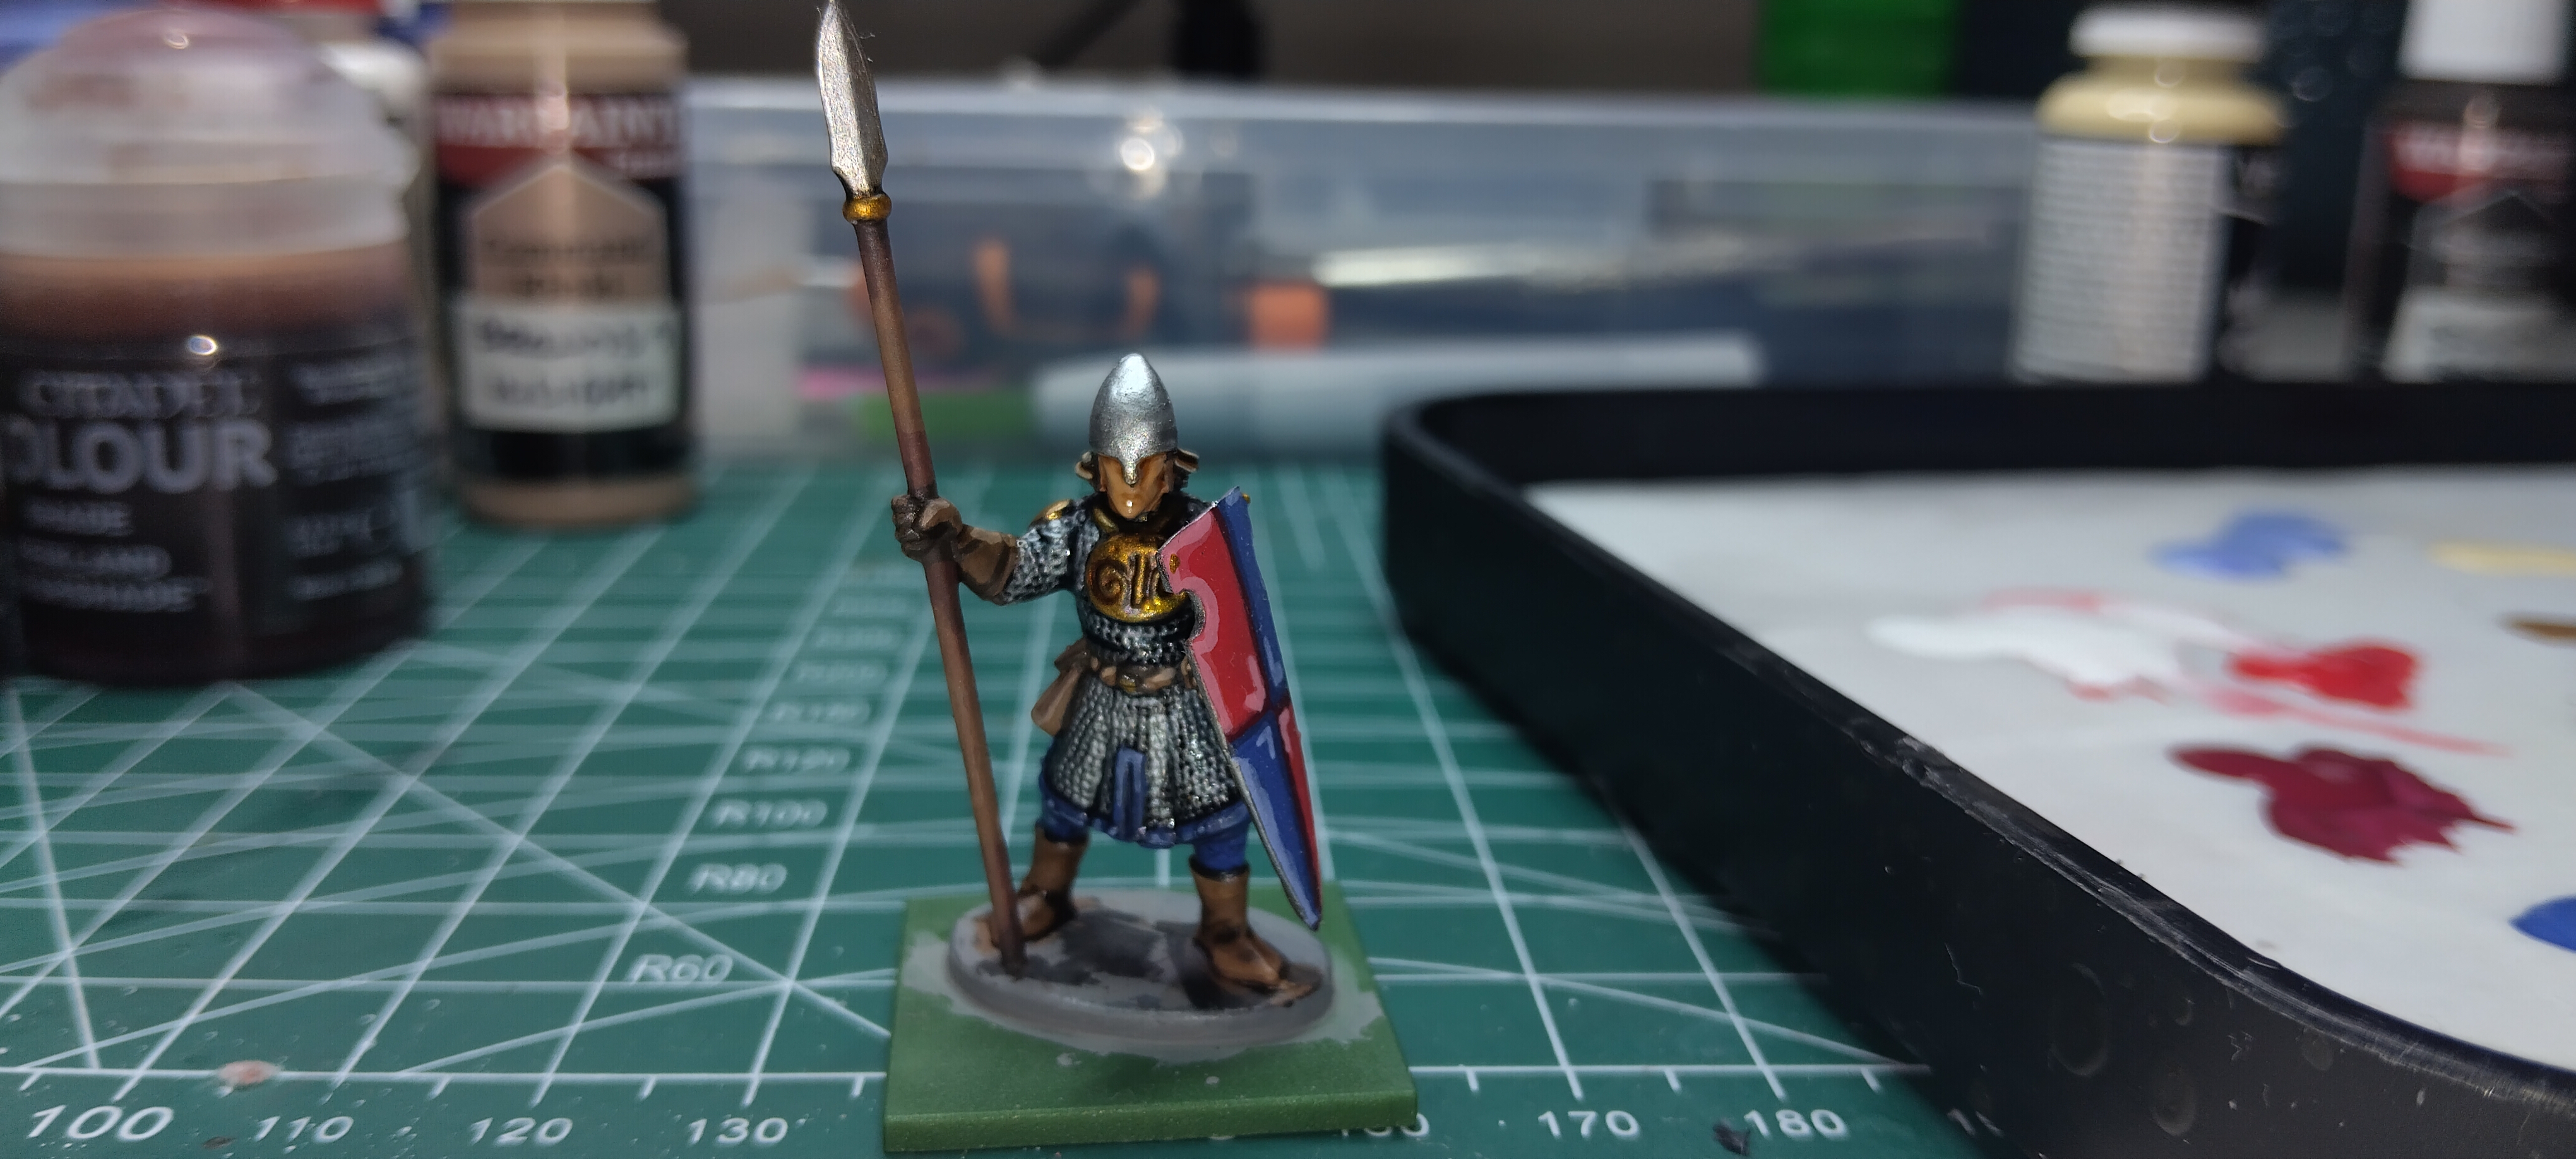
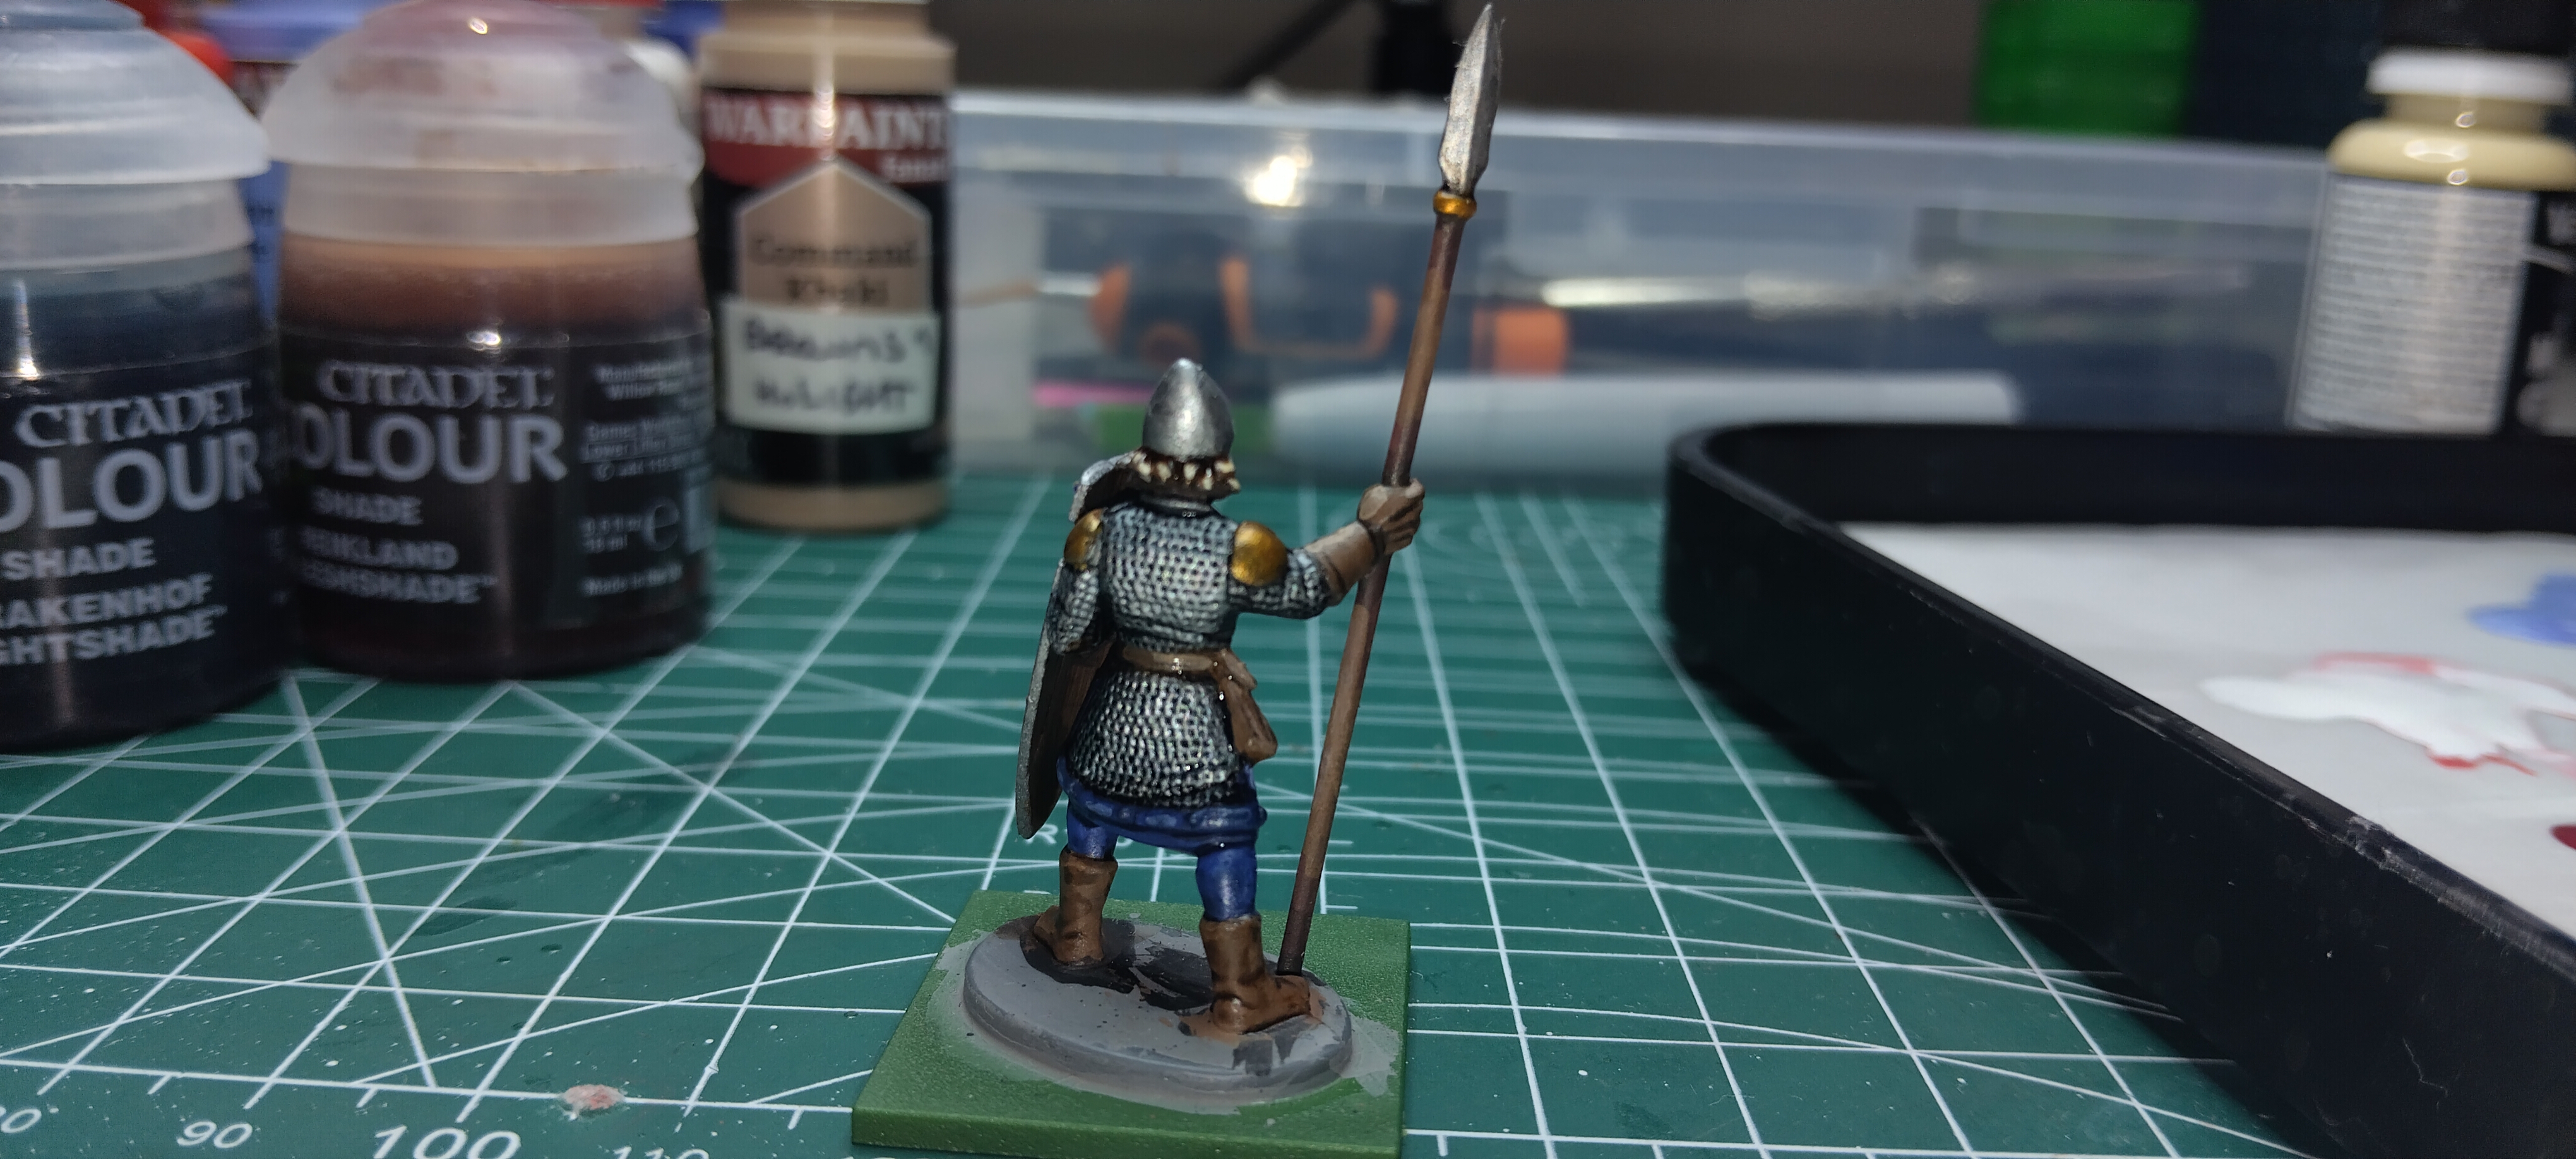
I hope you enjoyed this little painting tutorial, stay tuned for more!
– Tânwyth

